How to install GRANEYE (using MagMount)
How to install GRANEYE (using MagMount)
This section introduces the installation procedure of GRANEYE using MagMount.
Introduction
What you need to prepare
- Phillips head screwdriver
- Tape measure
- USB power adapter *20WPD(power delivery)output / USB-C
For more information on recommended power adapters, please click here.
How to install the dartboard
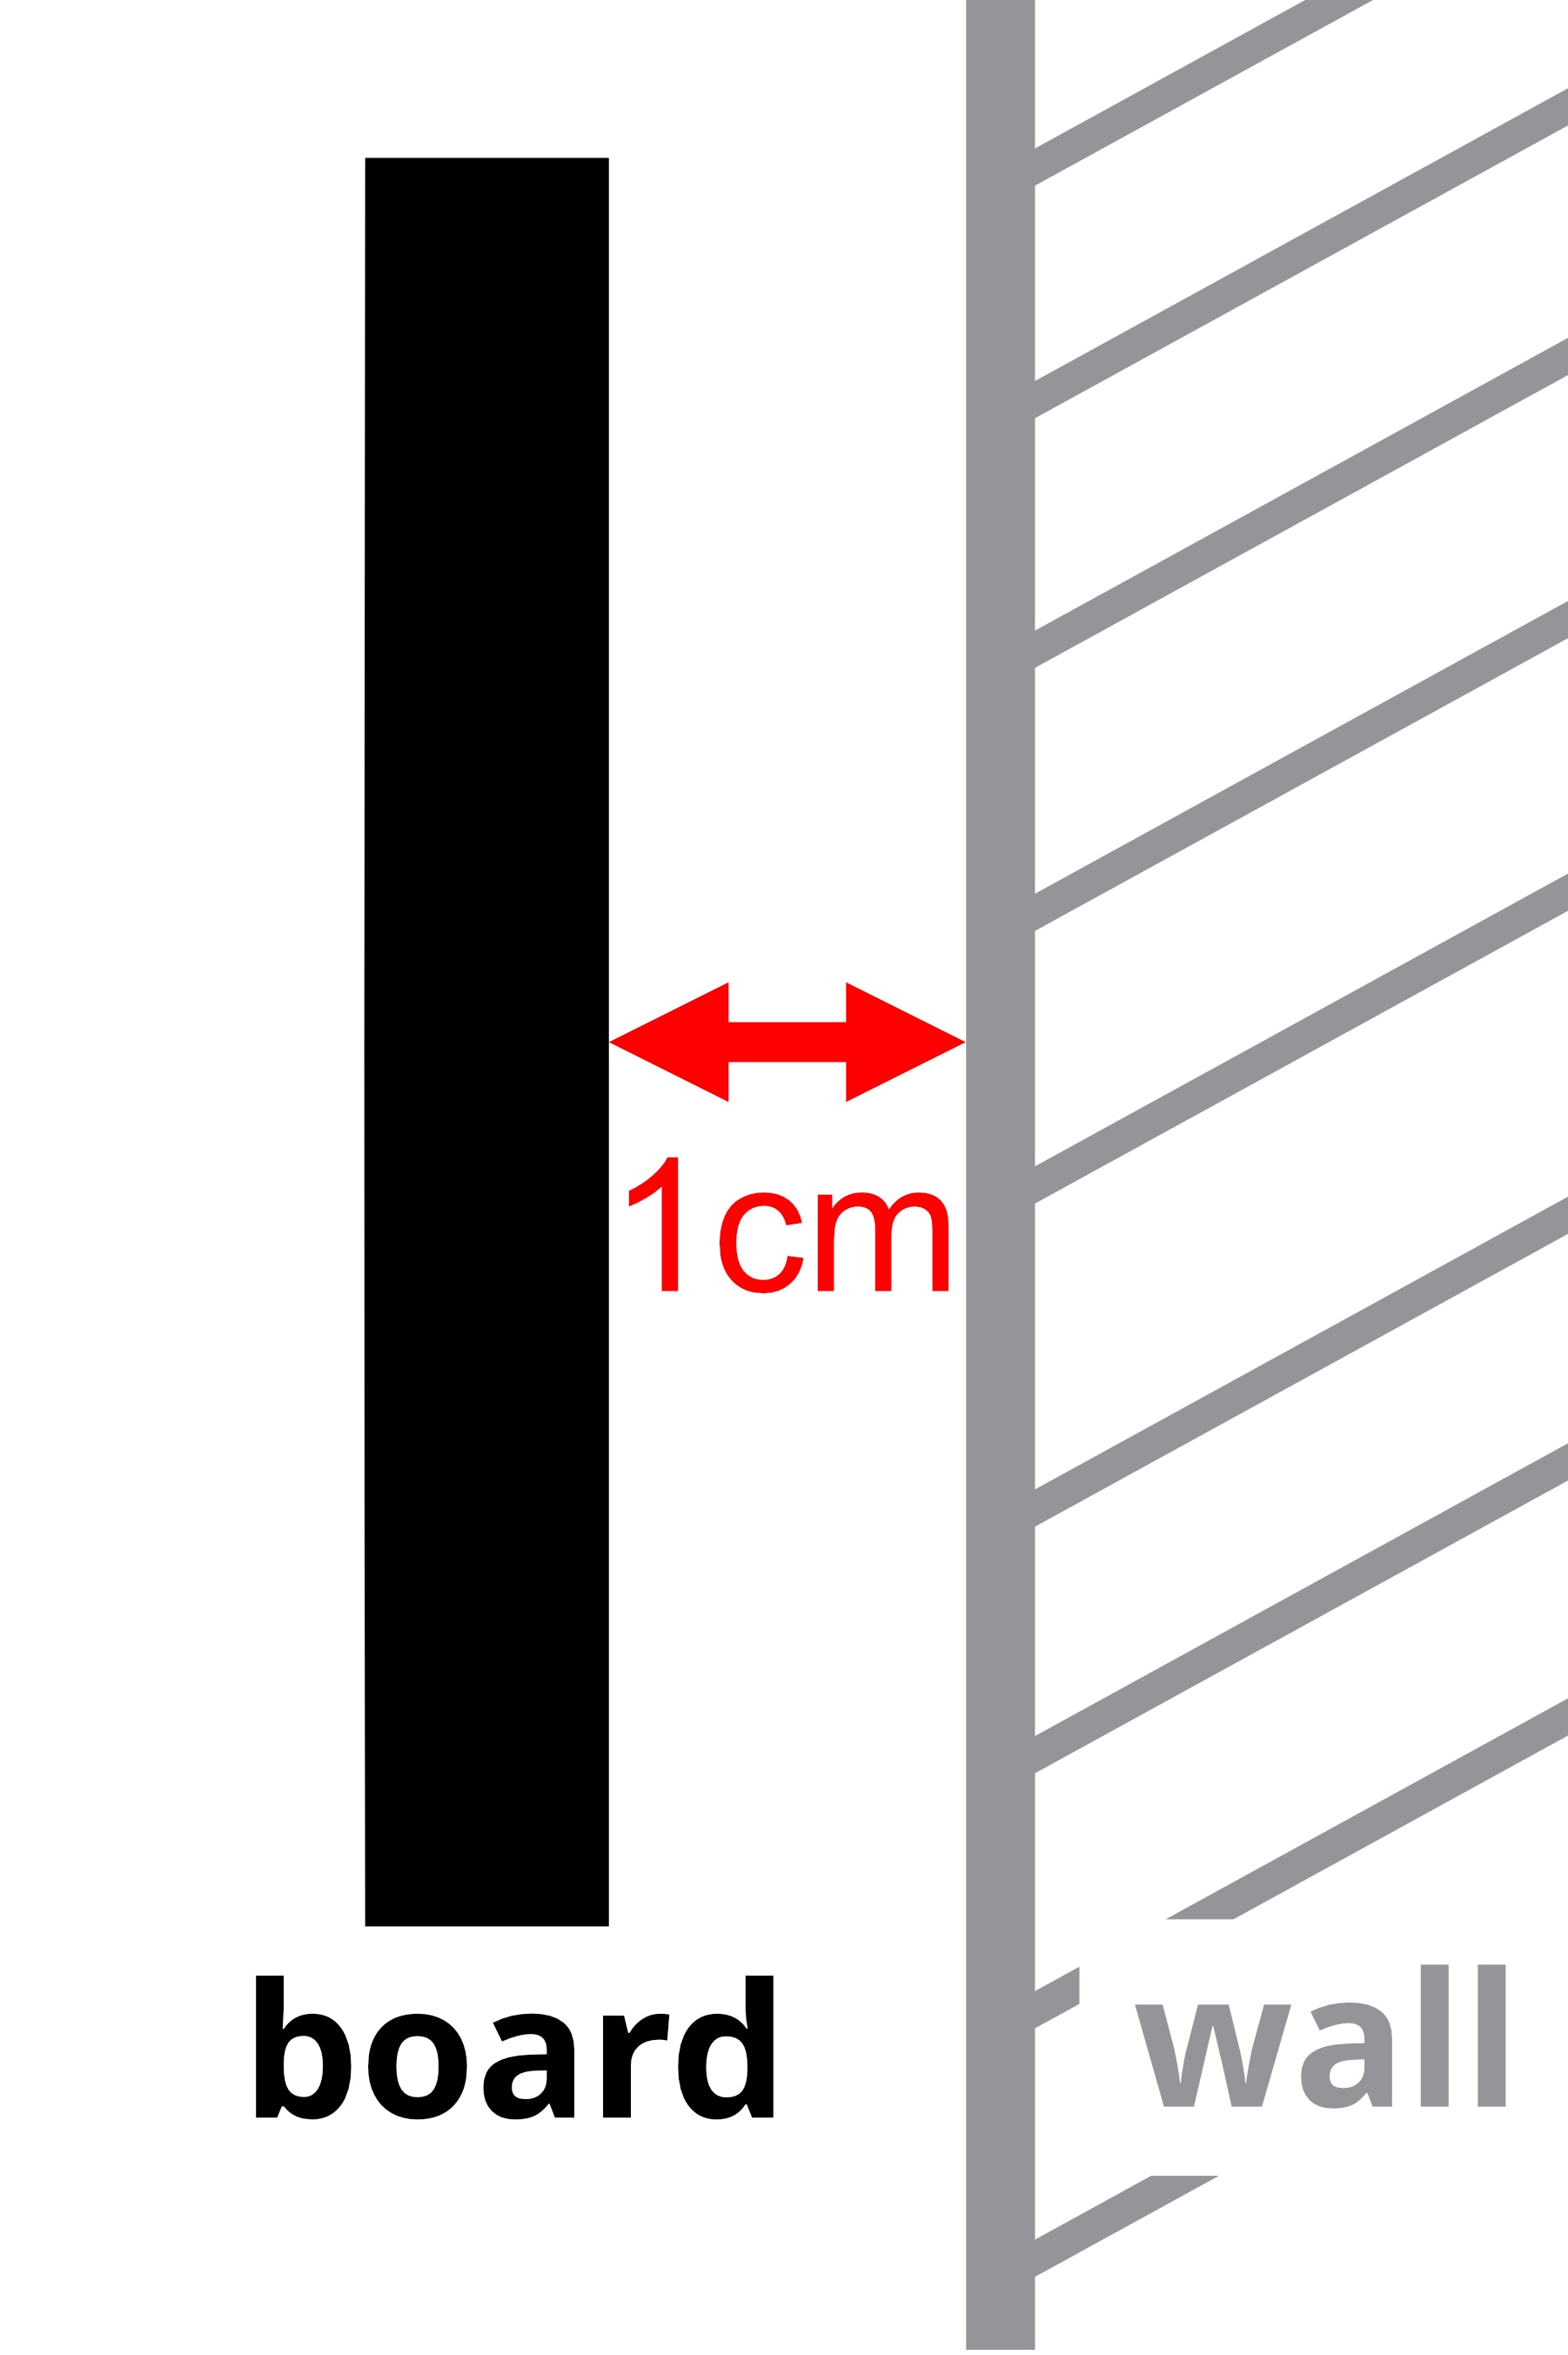
The dartboard to which GRAN EYE is to be installed must be about 1 cm away from the wall.
If the dartboard is not about 1 cm away from the wall because it is installed with the hanger fittings, etc. that come with the board, please adjust the dartboard so that it is 1 cm away from the wall.
About the Wi-Fi router environment
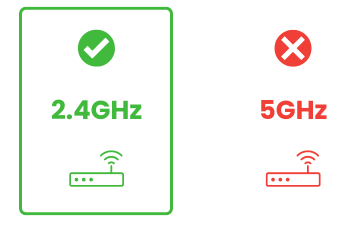
To use GRANEYE, a stable 2.4 GHz Wi-Fi connection is required.
You can find more details about the Wi-Fi environment [here].
Installation procedure
1. Remove the dartboard.
Remove the dartboard and bracket from the wall. You may leave the bracket attached.
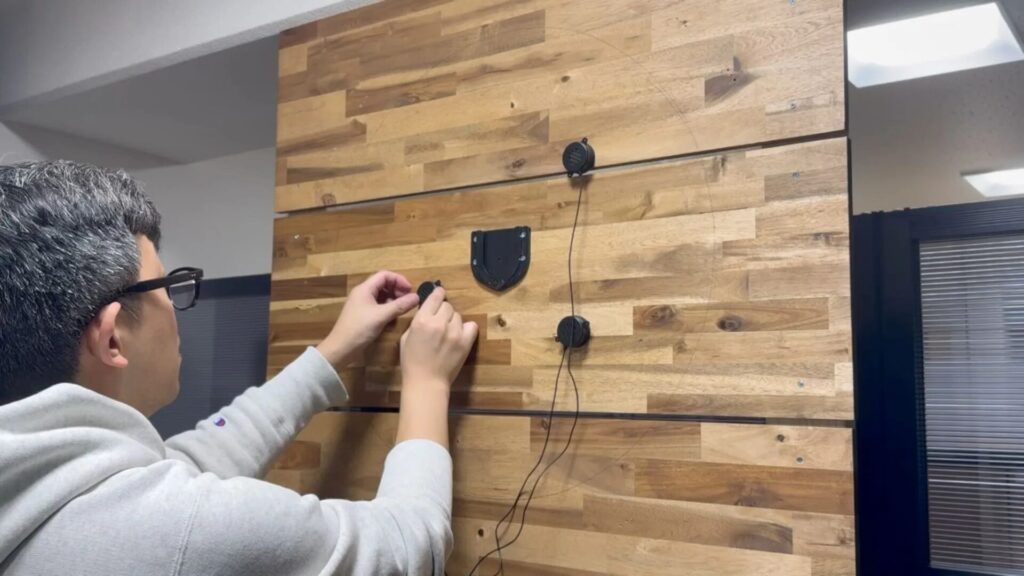
Install the Echo Unit
Echo Unit on thewall or to the dartboard itself. or the dartboard itself.
When using the dartboard away from the wall for reasons such as using a dart stand, attach the Echo Unit to the dartboard itself.
Attach the attached sponge to the Echo body.

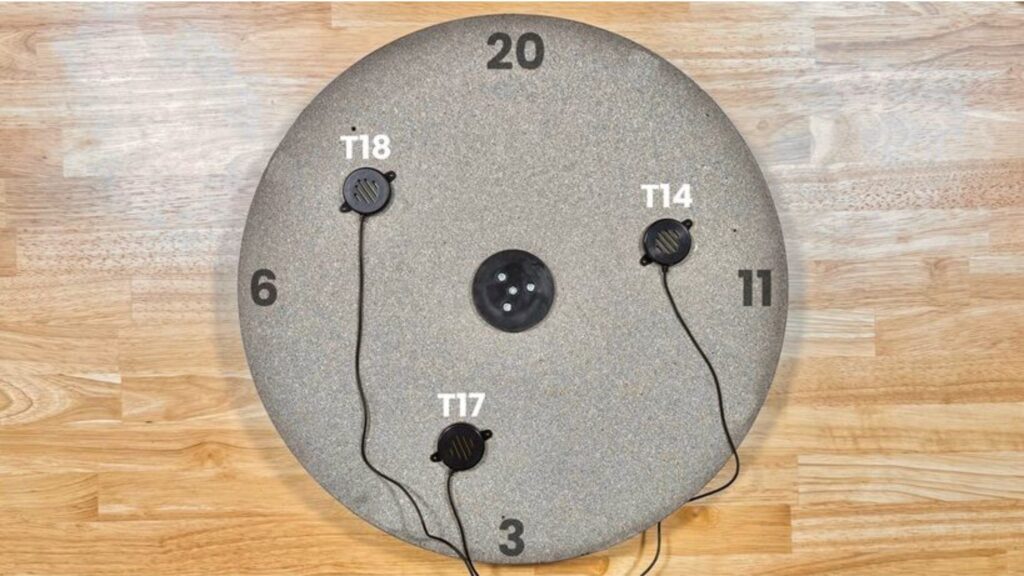
Attach the Echo to the wall around the back of the dartboard [T18], [T17], and [T14].
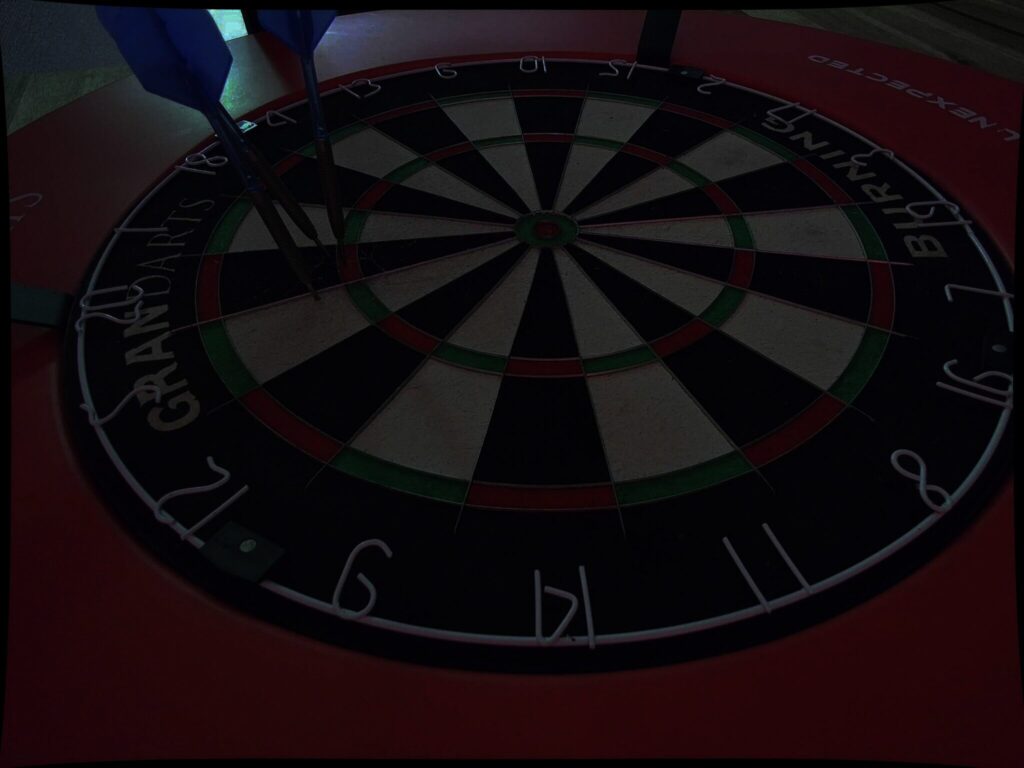
Place the Echo at a distance of about 12 cm from the center (Bull).
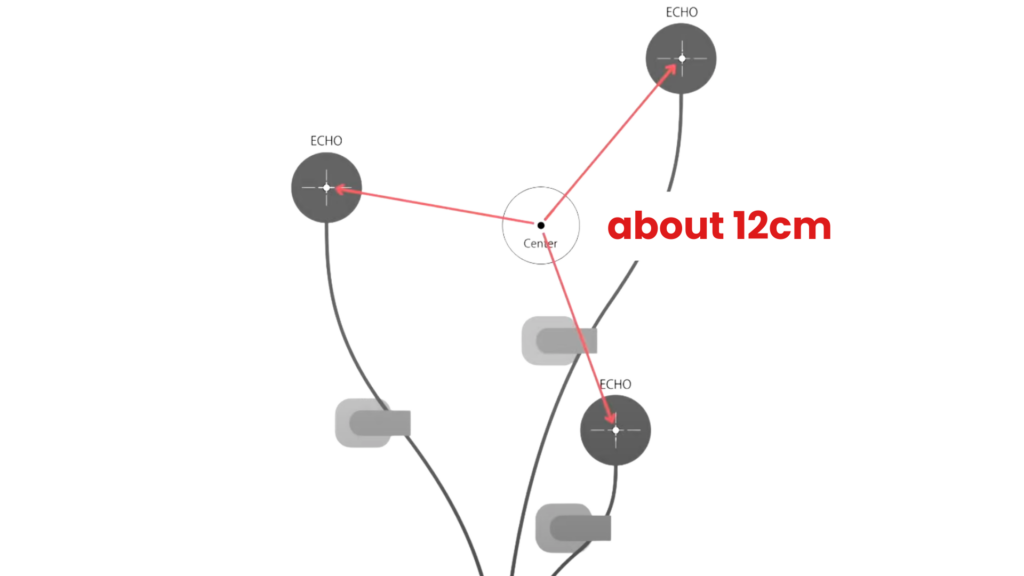
Attach the echo unit near the back of the dartboard [T18], [T14], and [T17] areas.
Secure the unit firmly to the board body using the supplied double-sided tape (round) or screws.
3. Put the dartboard back in place.
Place the dartboard on a wall or stand.
At this point, it is not necessary to precisely align the level.
4. Attach the MagMount.
Attach the MagMount to the areas around numbers 13 and 14 on the dartboard. It will automatically attach magnetically when placed over the correct mounting points.
During installation, make sure to position the MagMount so that it is properly centered with each number.
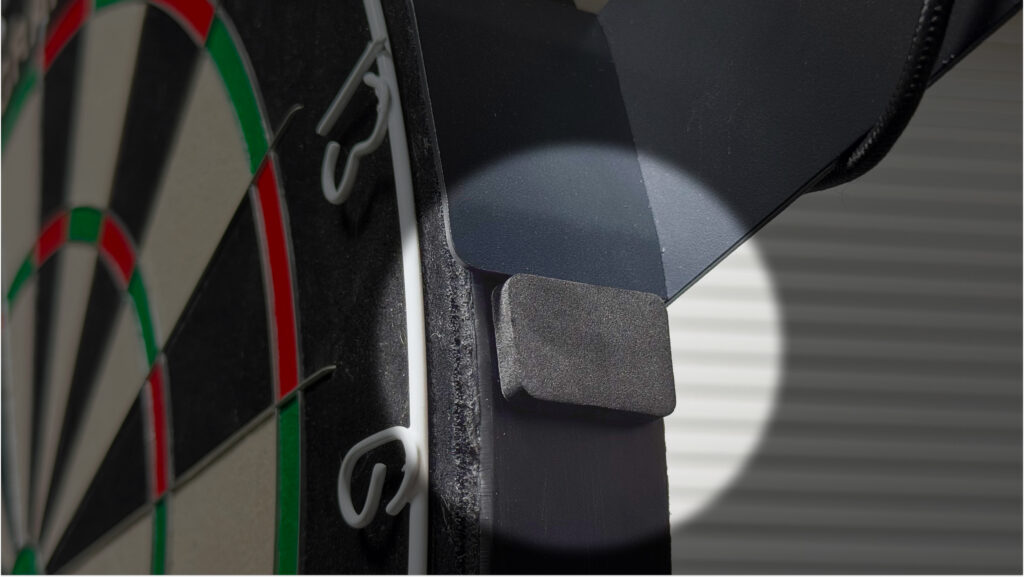
When installed without a surround, the MagMount may slide downwards due to vibration when darts are stuck in it. To prevent this, please attach the supplied anti-slip tape to the bottom of the MagMount.
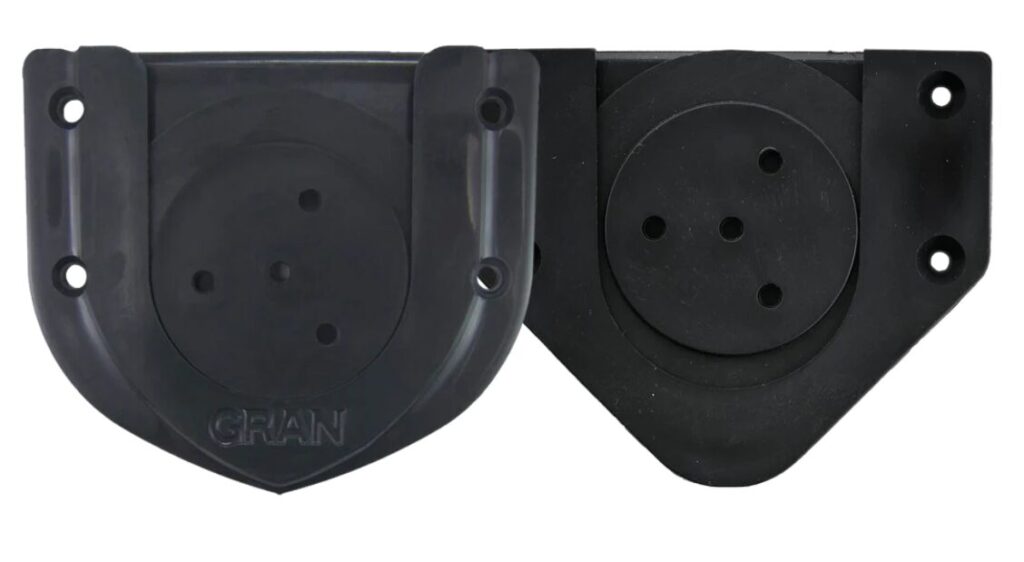
5. Attach the camera
Attach the camera to the MagMount.
- Connect the USB-Type A to C cable to the camera.
- Attach the camera to the bracket at the end of the MagMount.
The camera on the left side is inserted from bottom to top. Insert the camera on the right side from top to bottom. Secure both cameras firmly until they “click” into place.
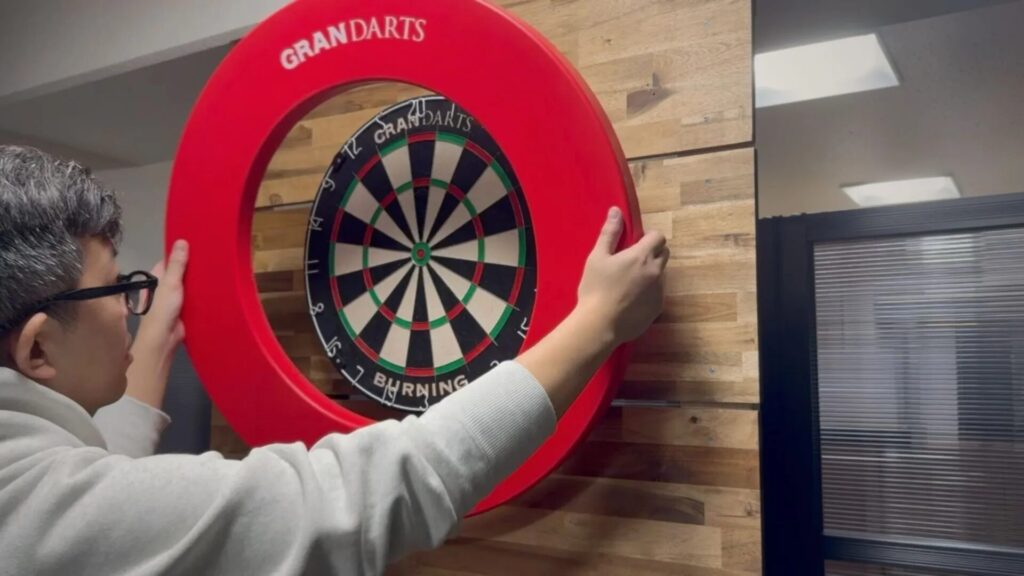
6. Attach the Surround Ring
If you are using a surround ring, attach it to the dartboard at this stage.
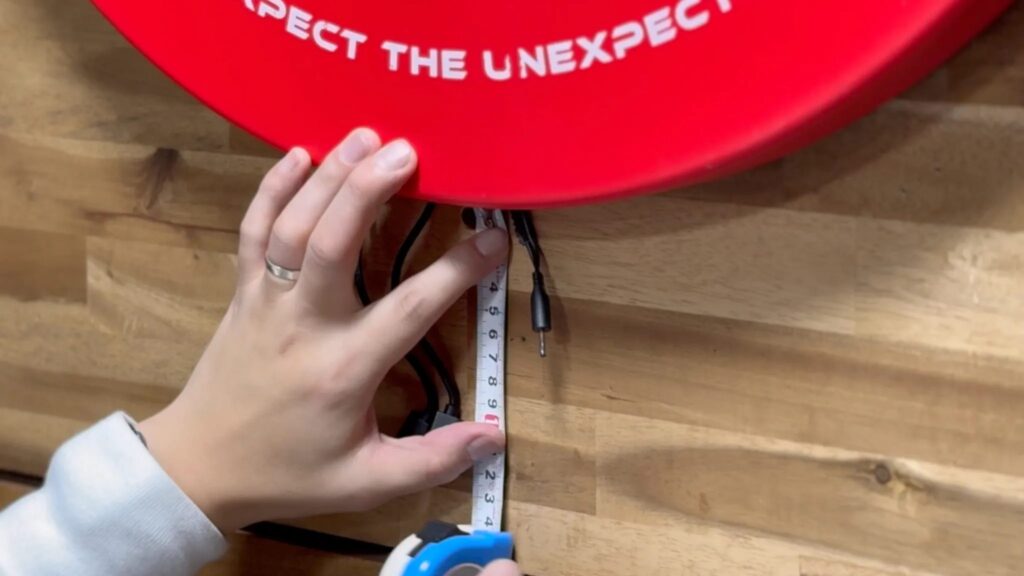
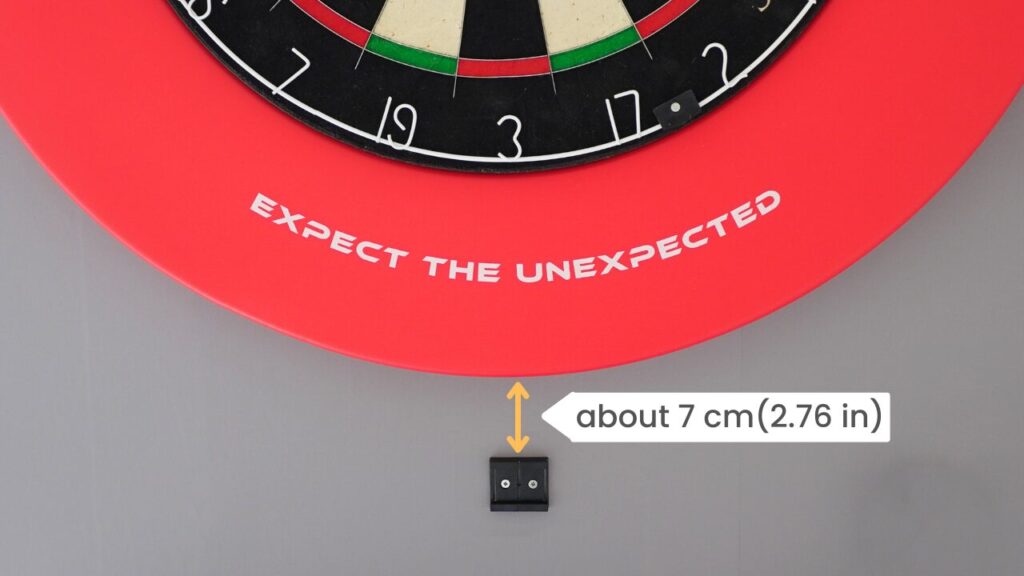
7. Attach the Base Unit to the Bracket
Mark about 7 cm below the perimeter of the surround and screw the bracket for the base unit in that position.

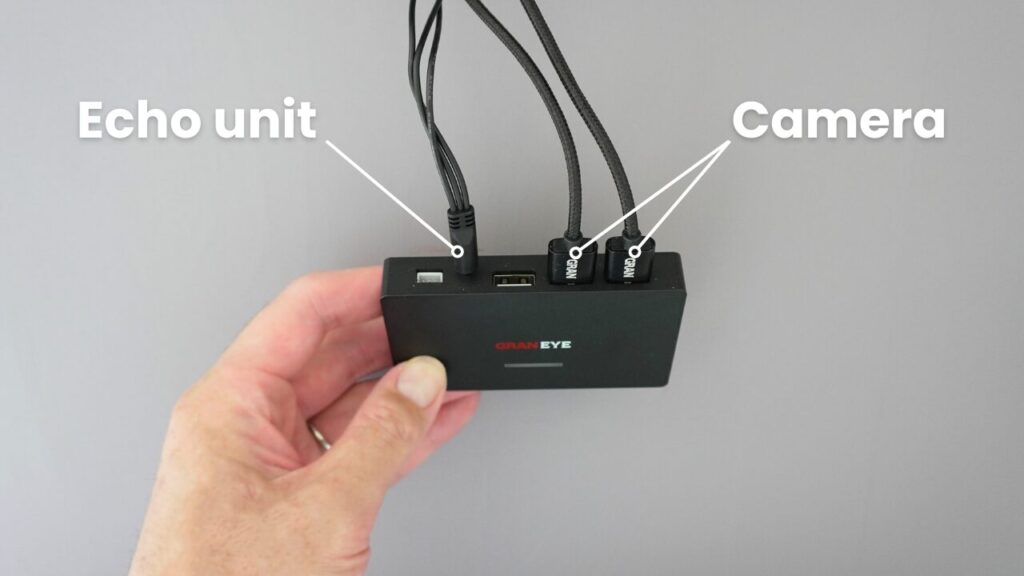
Connect the echo unit to the camera with a cable.
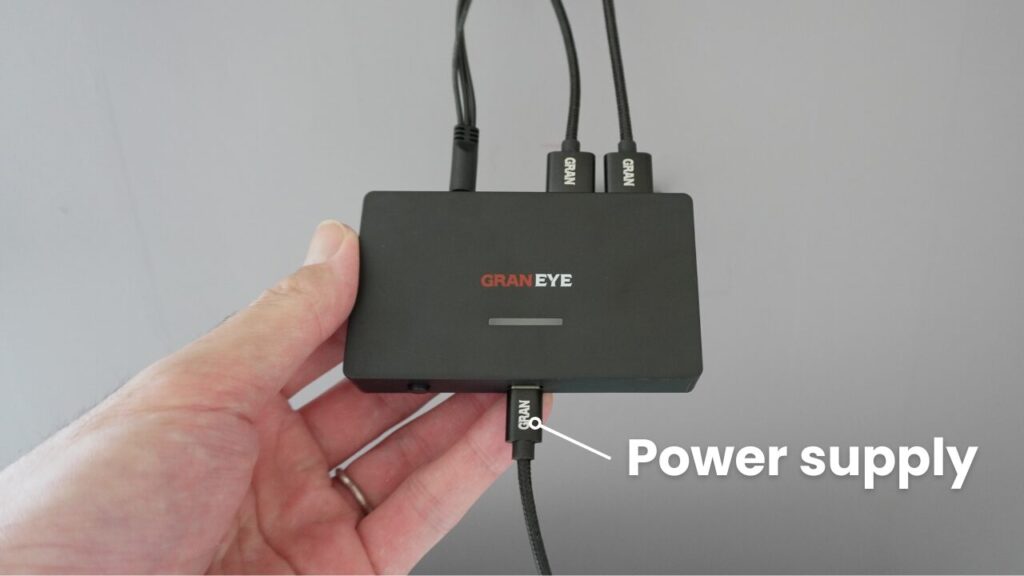
Then connect the power cable to the bottom of the base unit.
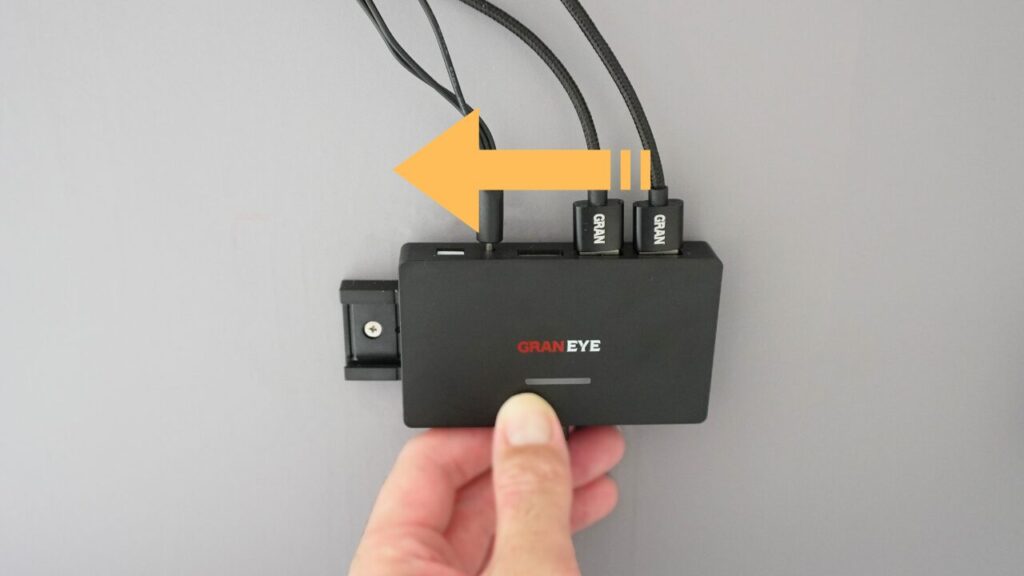
Attach and secure the base unit to the bracket. Install and secure from right to left until it clicks into place.
Connect the power cable of the base unit to the USB power supply to complete the installation.
This completes the installation using MagMount.