Calibration Procedure|GRAN EYE
Calibration Procedure
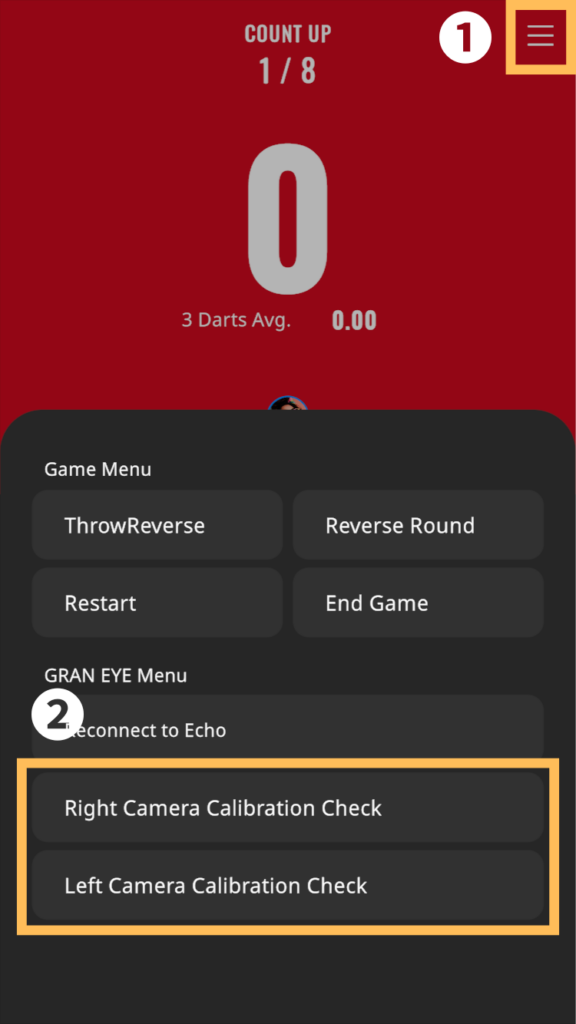
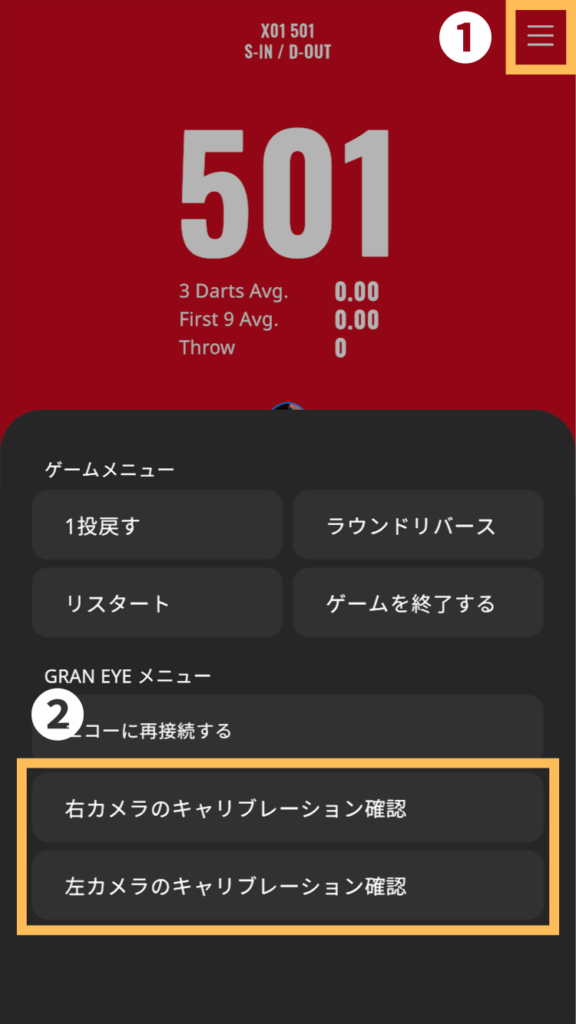
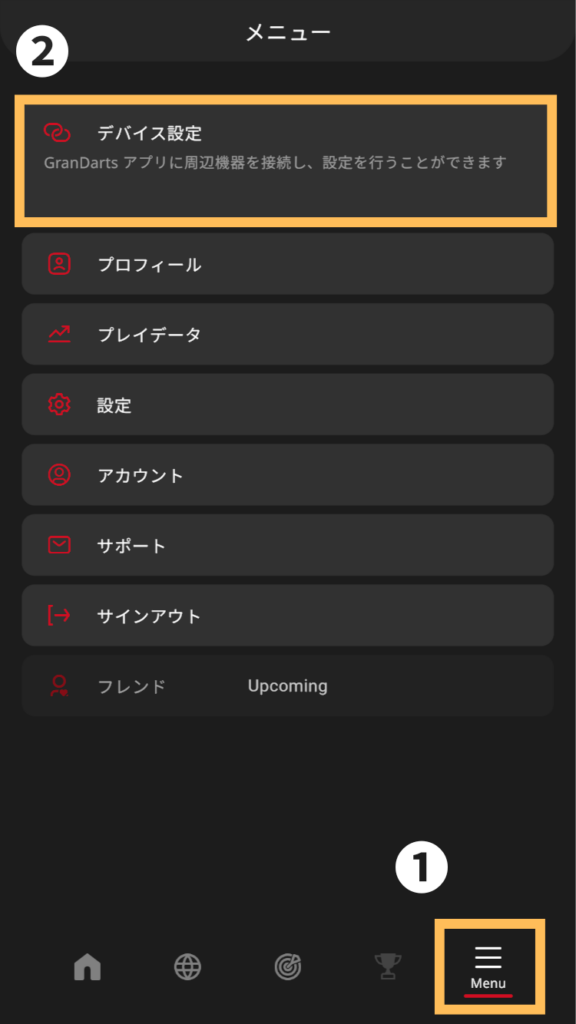
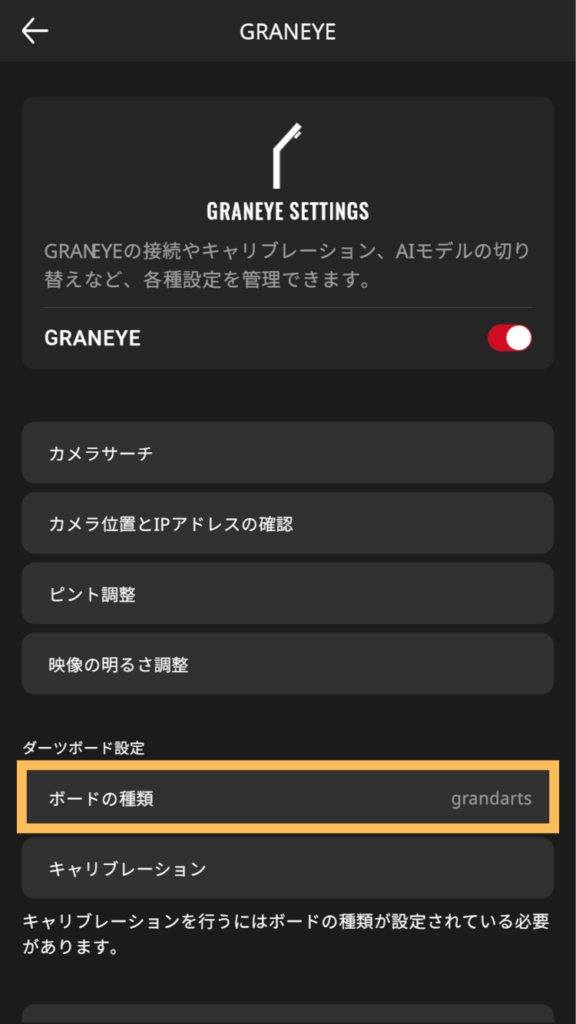
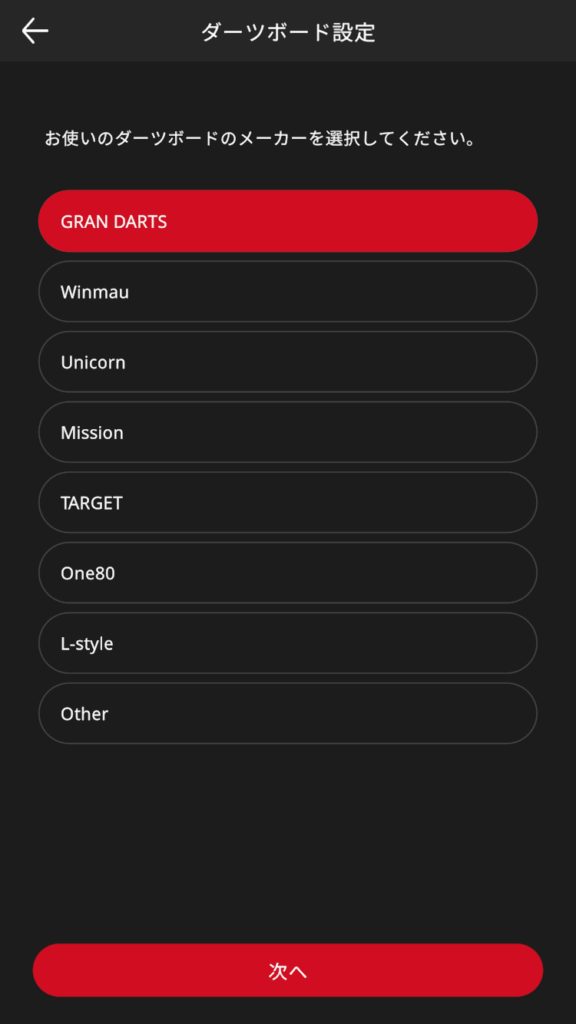
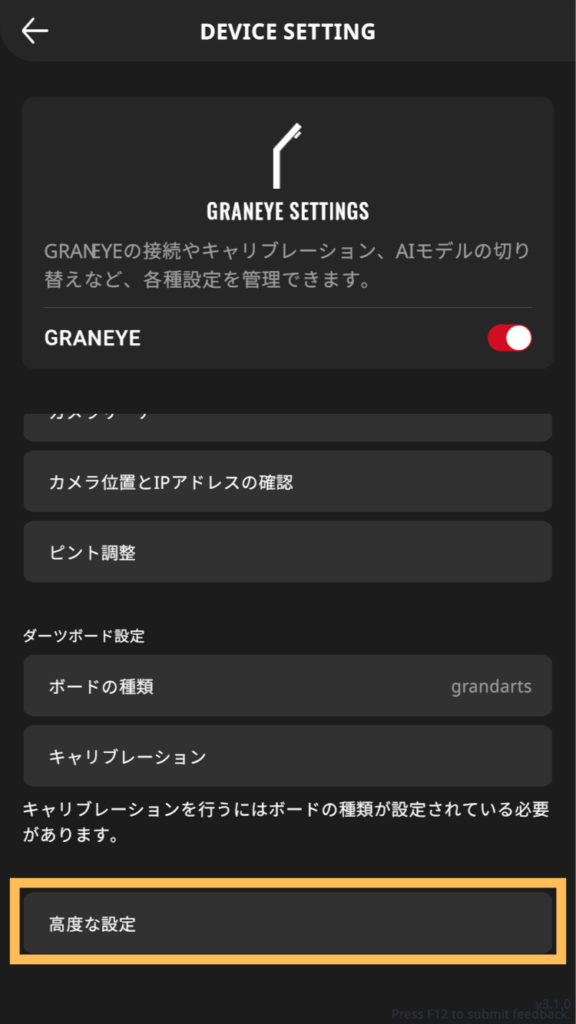
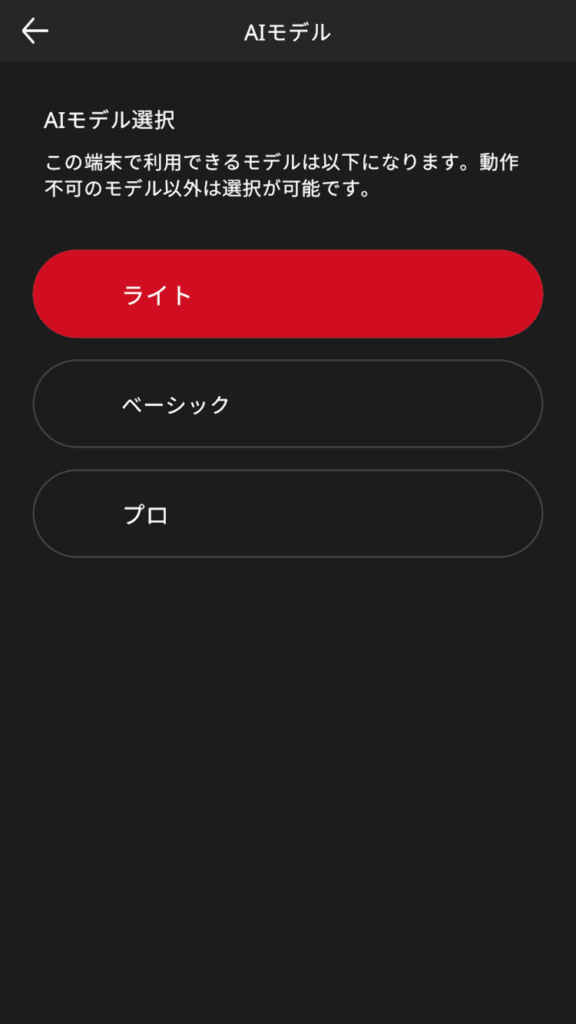
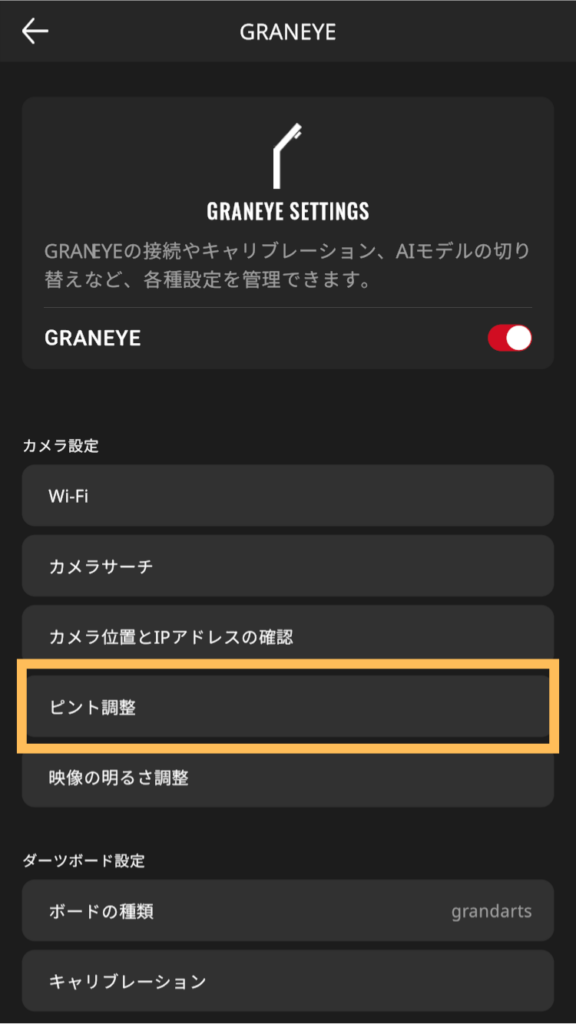
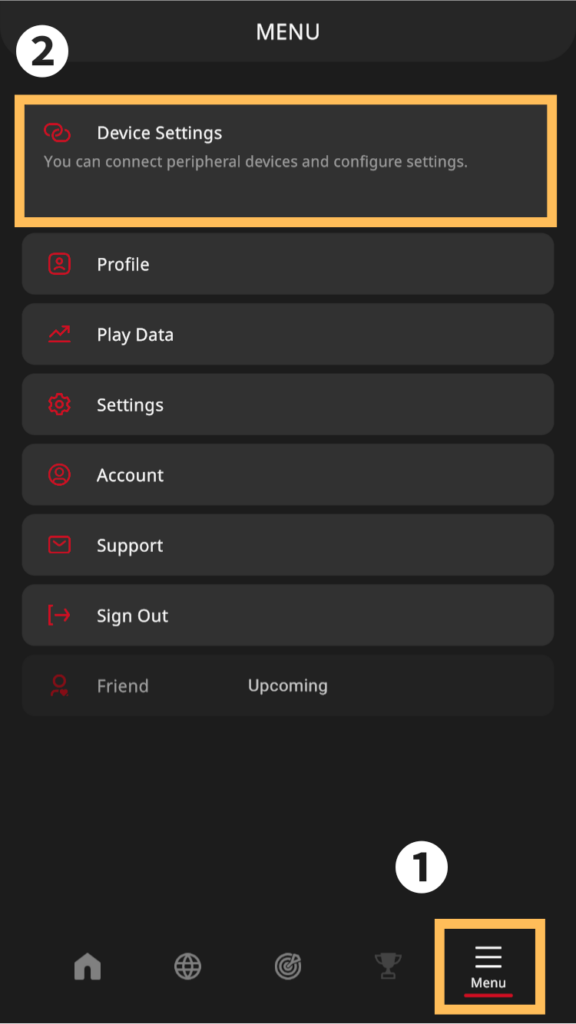
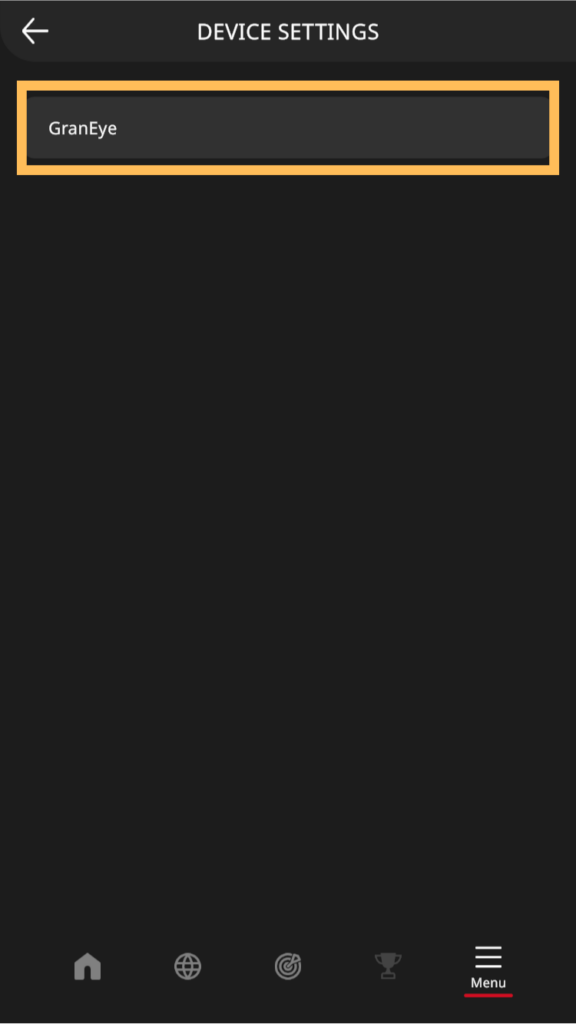
Open the calibration menu
Open the calibration menu by following the steps below.
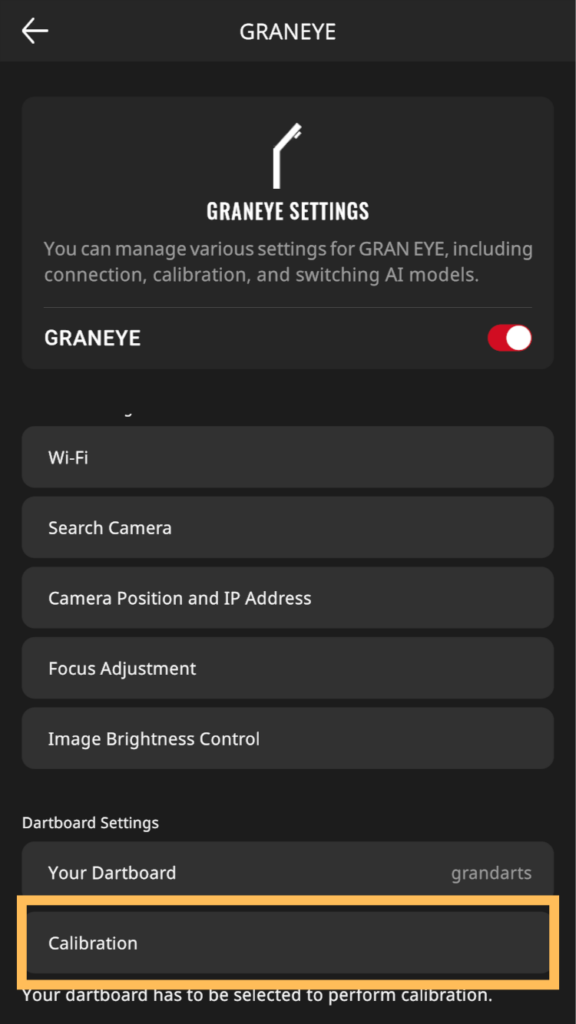
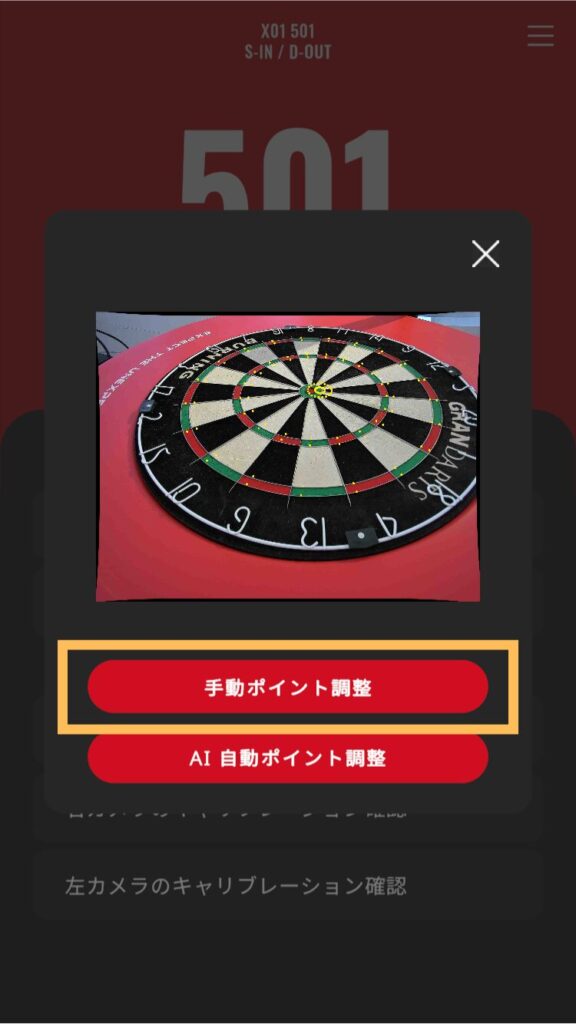
Perform calibration
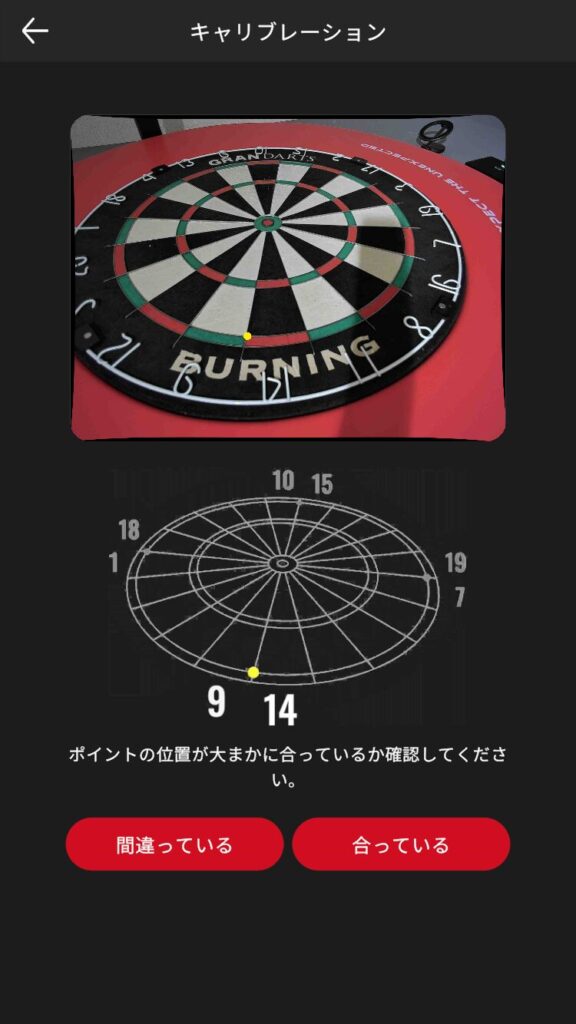
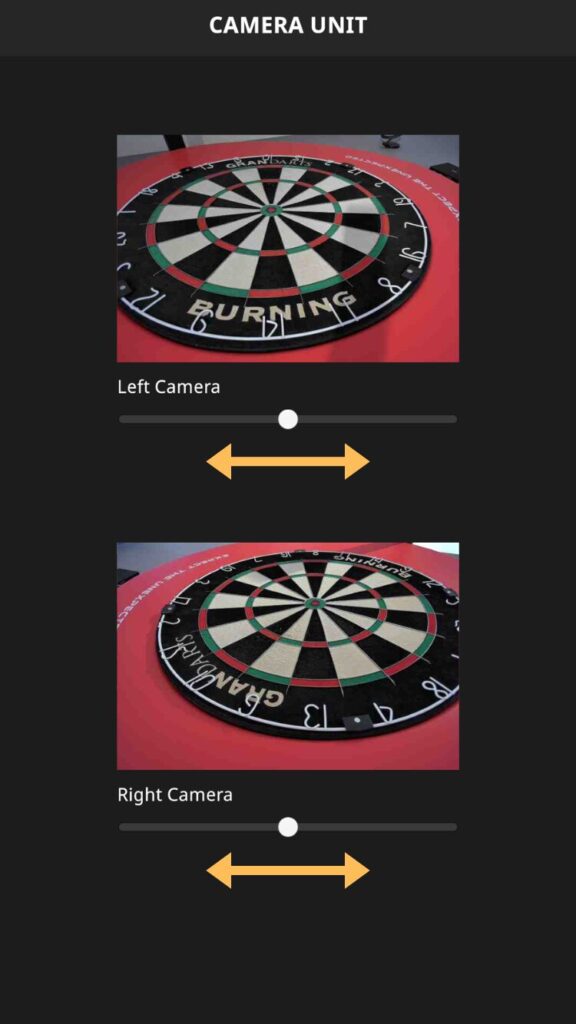
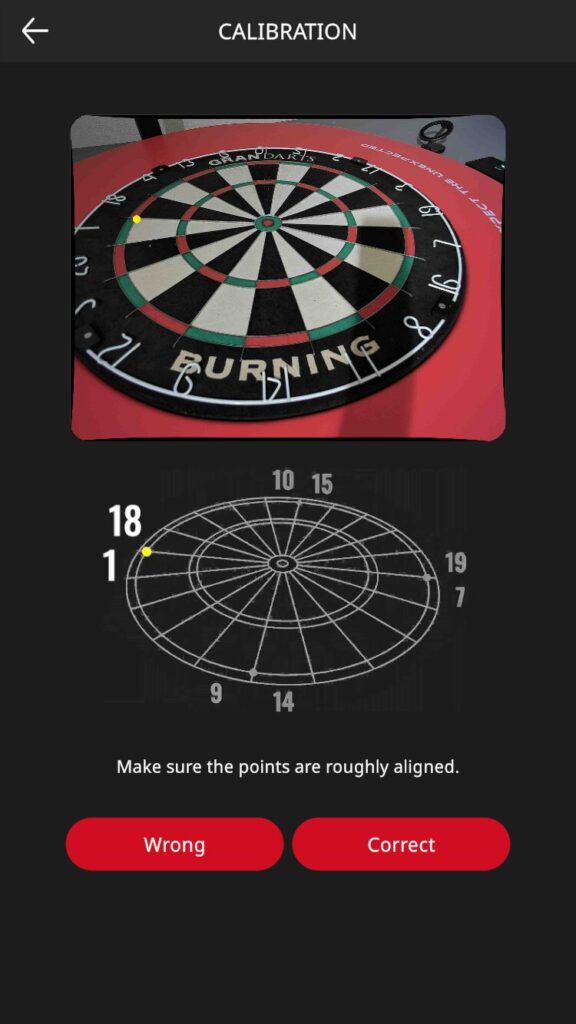
Calibrate the camera (coordinate alignment).
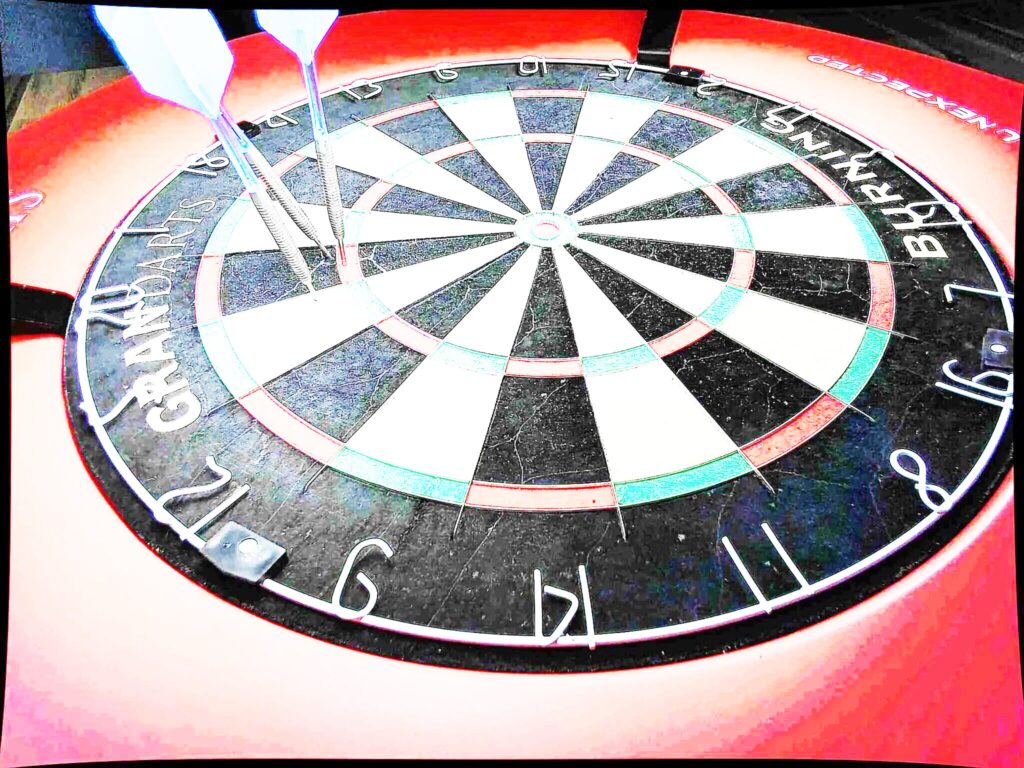
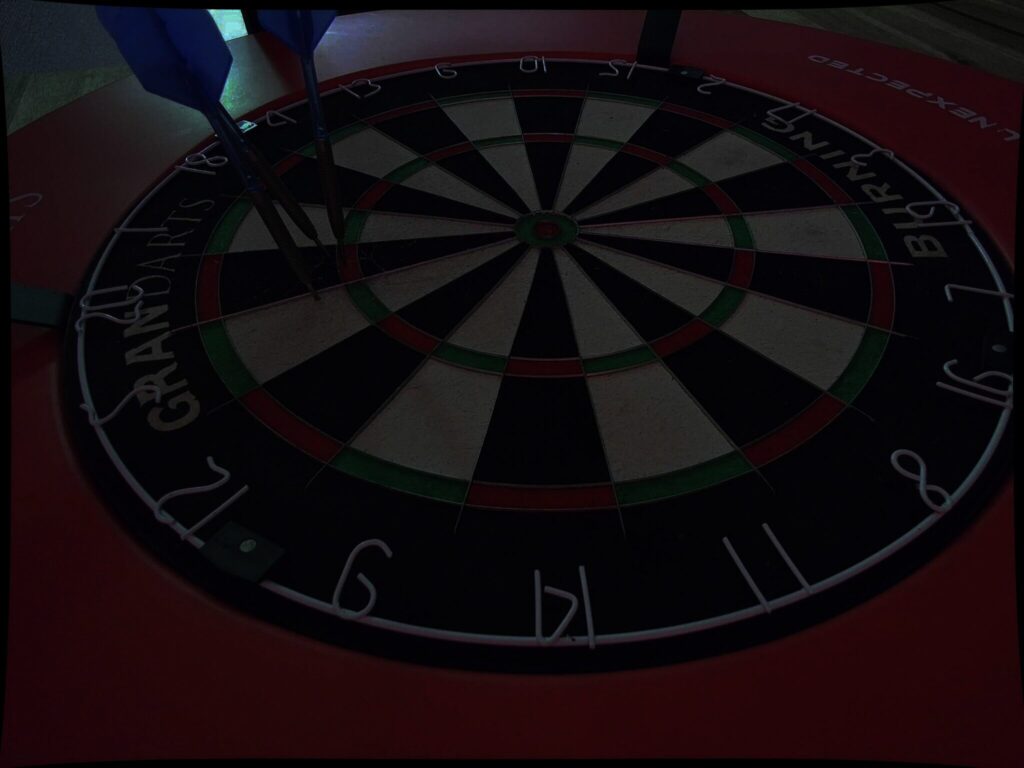
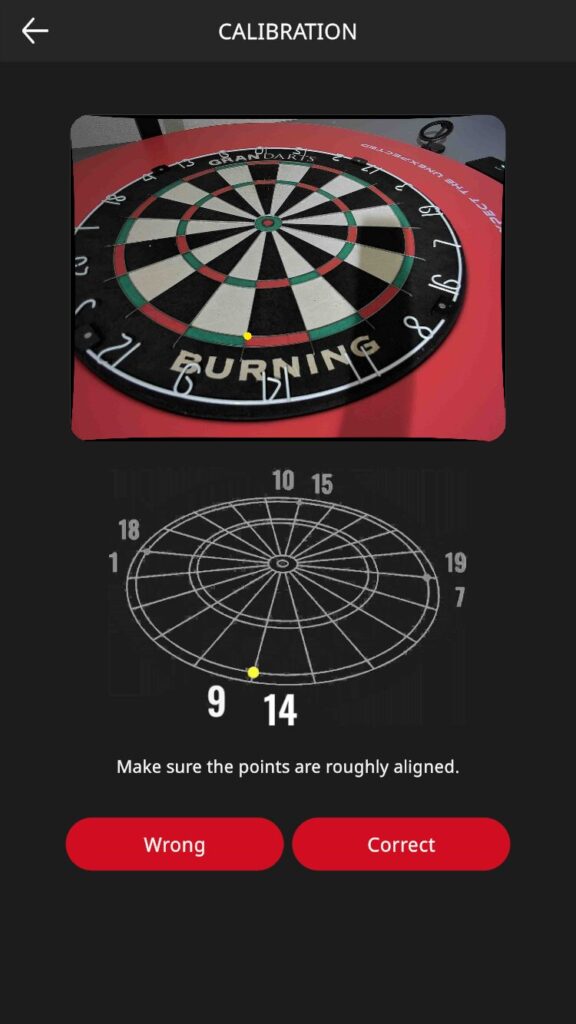
A yellow point will appear in the camera image. Check to see if the position of the yellow point is roughly the same as the position of the yellow point marked on the image.
If the point appears at the same location, tap “Correct”. If it is different from the image, tap “Wrong”.
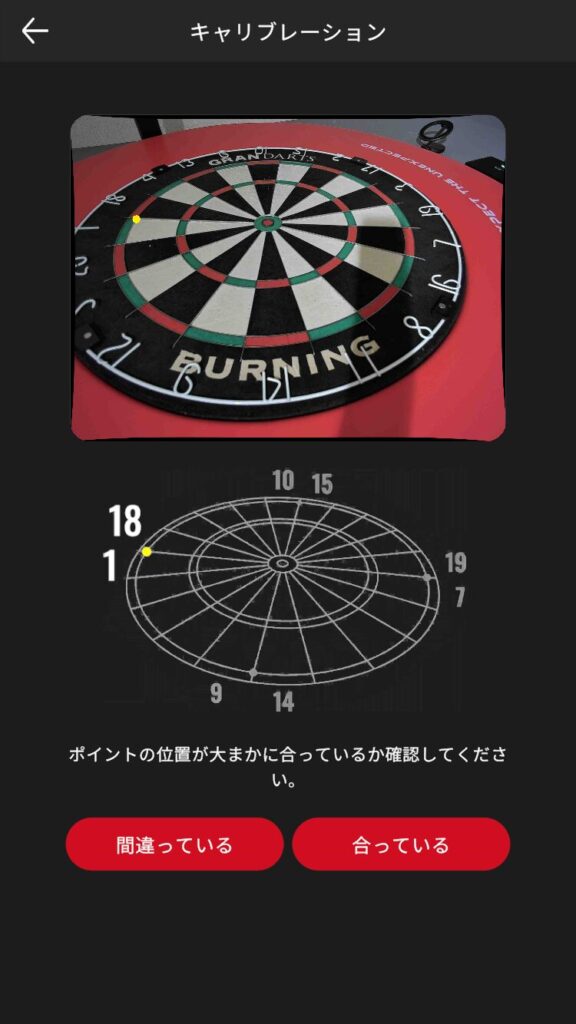
The point will continue to appear in other positions. In the same way, check if there is any rough difference between the actual image and the position of the yellow point shown in the image. If there is no problem, click “Yes” to continue.
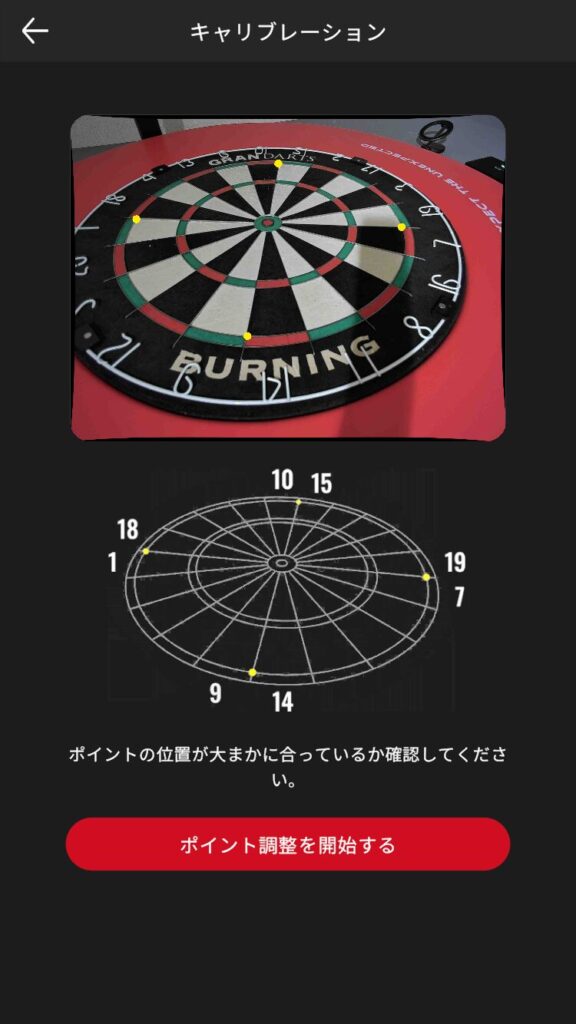
Perform the same procedure for the four areas of alignment.
When all four areas have been checked, the result of the adjustment will be displayed. If the results are satisfactory, tap “Start Point Adjustment” and proceed.

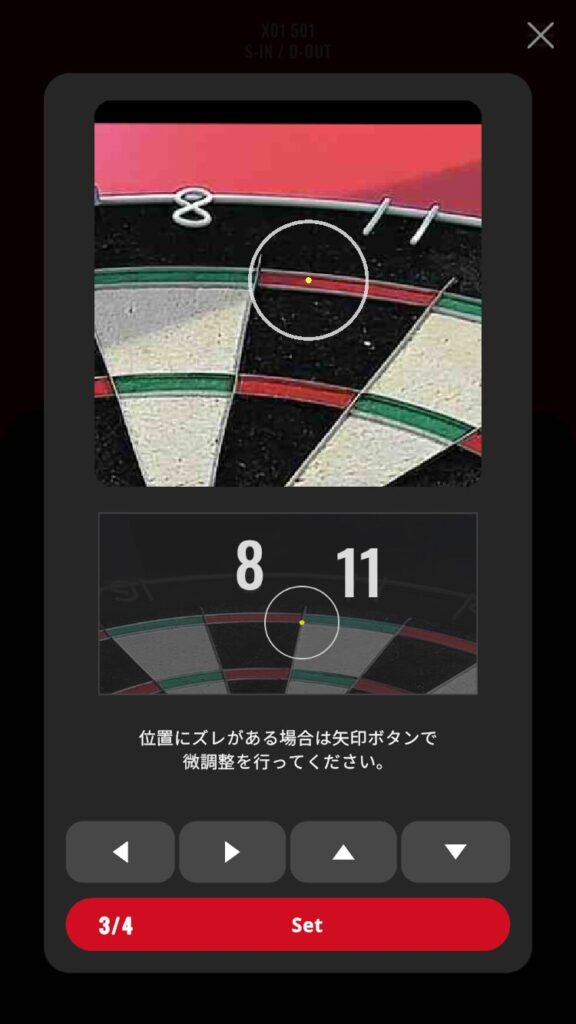
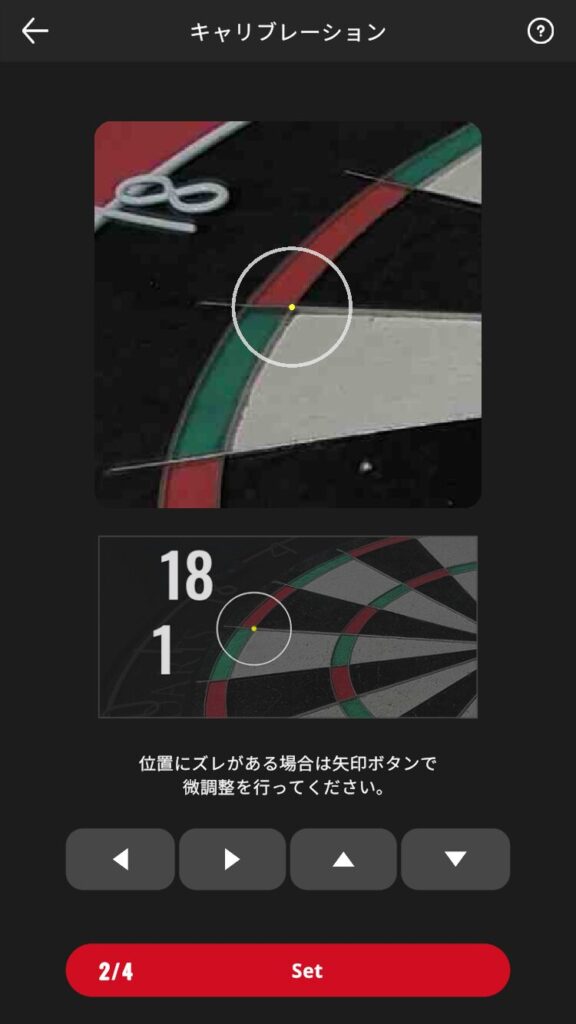
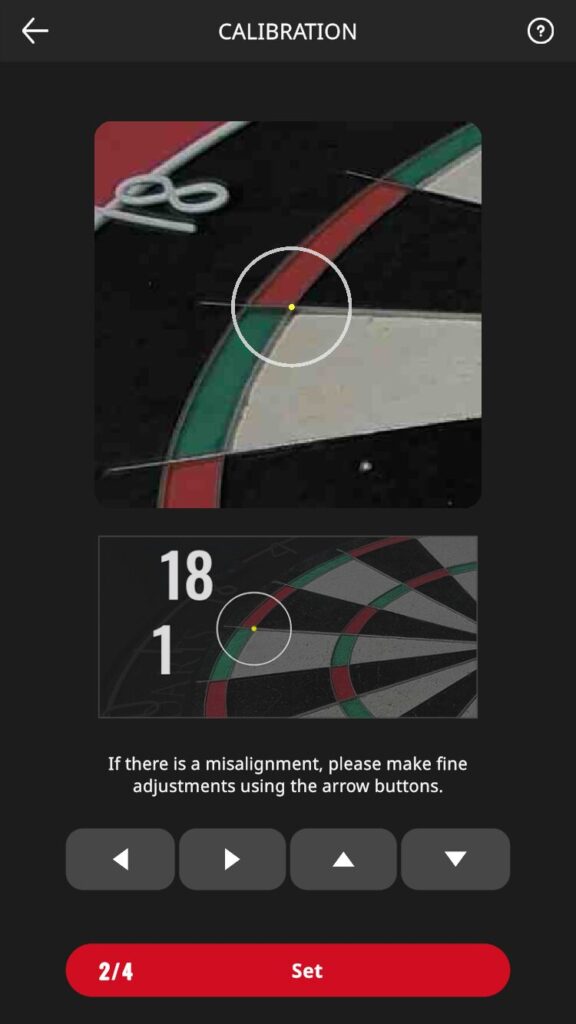
The double ring between “9” and “14” is zoomed.
The yellow point is positioned exactly as shown in the illustration. yellow point in the exact position as shown in the illustration, and tap “Set”. Tap “Set” to confirm that the yellow point is aligned exactly as shown in the illustration. If not, use the cross button to move the yellow point to the exact location of the wire intersection.
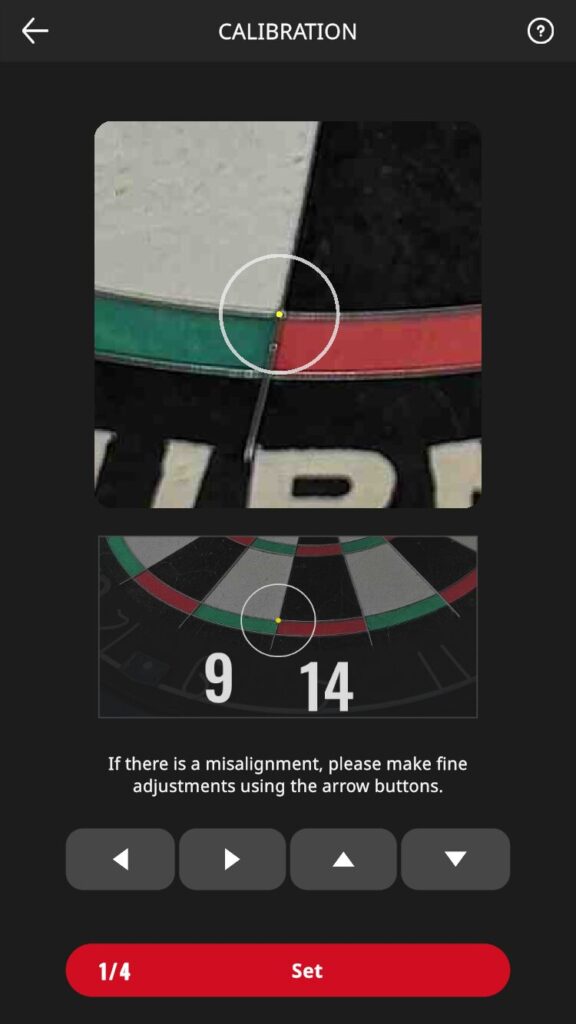
Continue to follow the on-screen instructions and perform the same procedure for positioning in other areas.
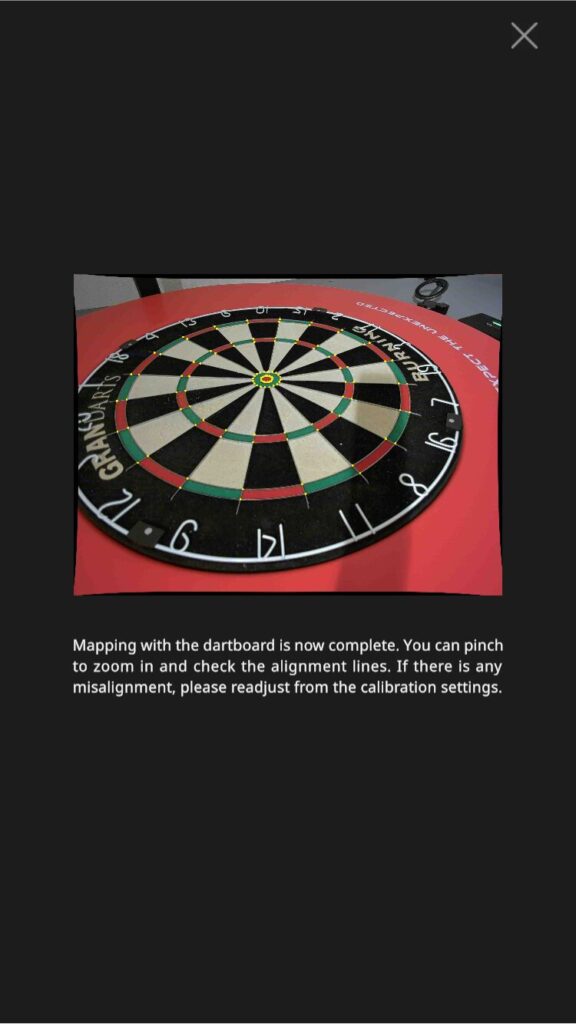
After the four areas have been aligned, the final calibration result will be displayed. Check for any misalignment.
Tap [x] to exit.
Follow the same procedure to calibrate the camera on the opposite side.
It is also possible to move to the calibration menu from the hamburger menu on the game screen.