GRANEYE Installation Procedure
GRANEYE Installation Procedure
Introduction
- A width of 75–80 cm is required to install the GRAN EYE.
- Due to a revision of the installation procedure, the included “guide paper” and “guide sticker” are no longer necessary.We kindly ask that you dispose of them yourself.
*Please note that these items will no longer be included in future shipments.
Installation procedure video
You can also watch the installation procedure in the video.
Items You Will Need
- Phillips screwdriver
- Measuring tape
- USB power adapter (Type-C PD compatible, capable of 12V output, 15W or higher recommended)
For more details about the power adapter, please check here.
1.Remove the Surround
If a surround is attached to your dartboard, please remove it before installation.
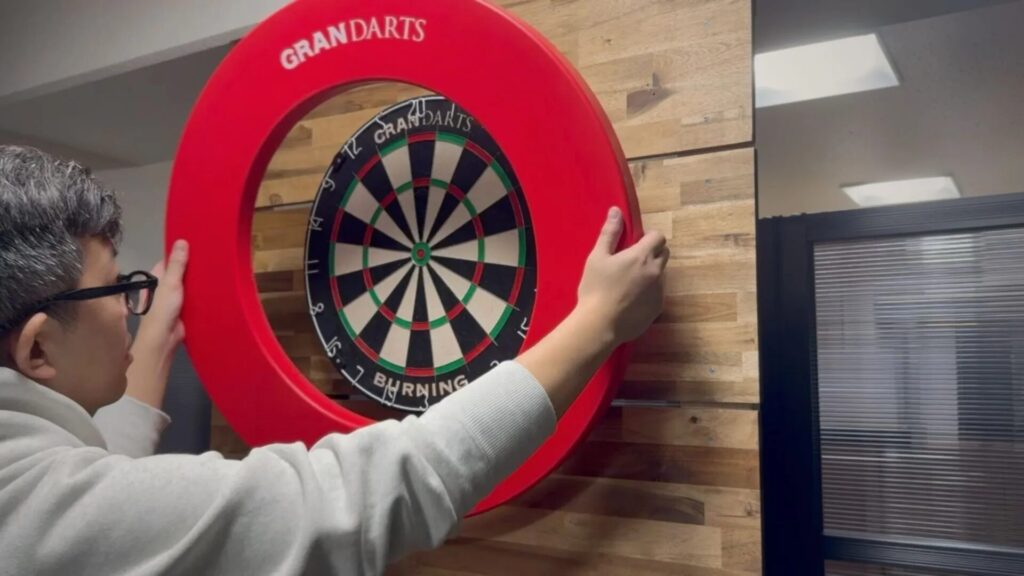
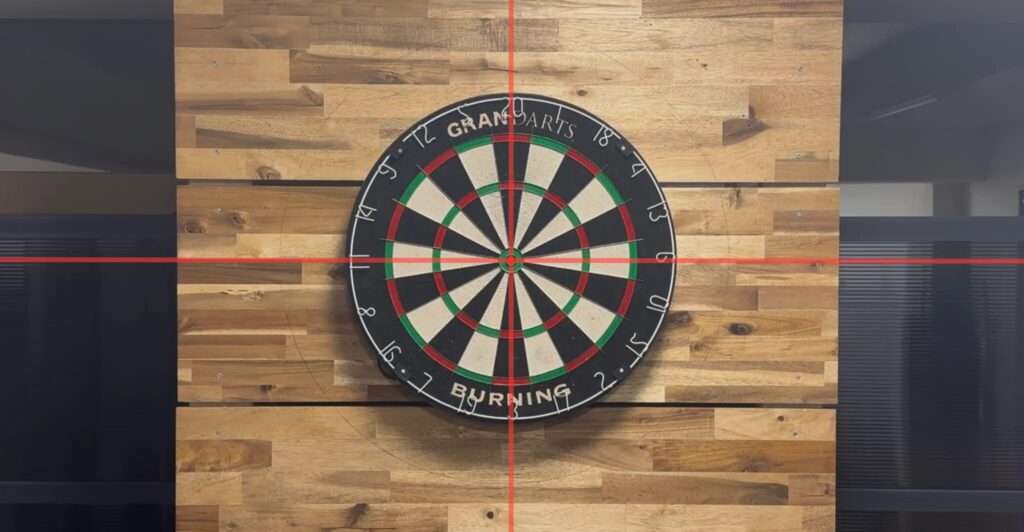
2.Check for Level Alignment
Make sure the dartboard is mounted level. If it’s tilted, adjust it at this point.
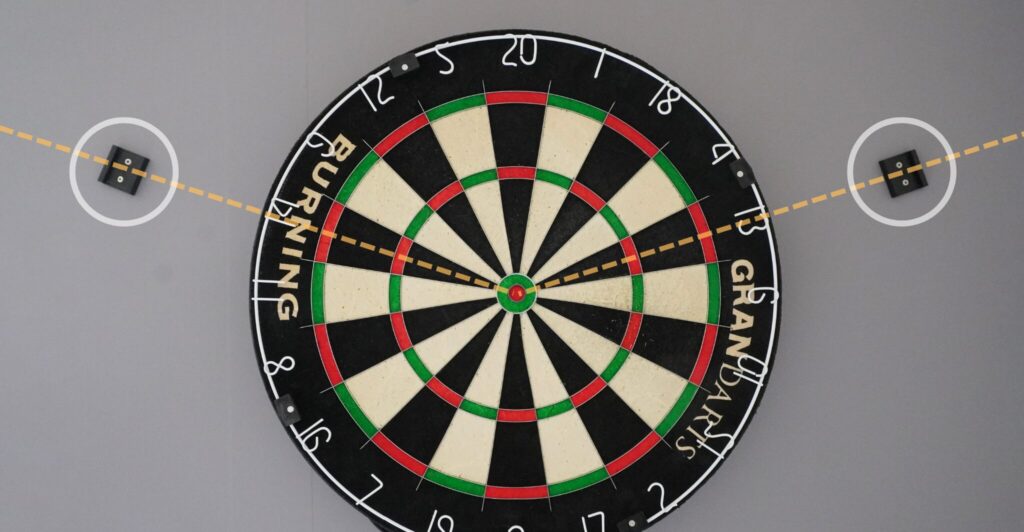
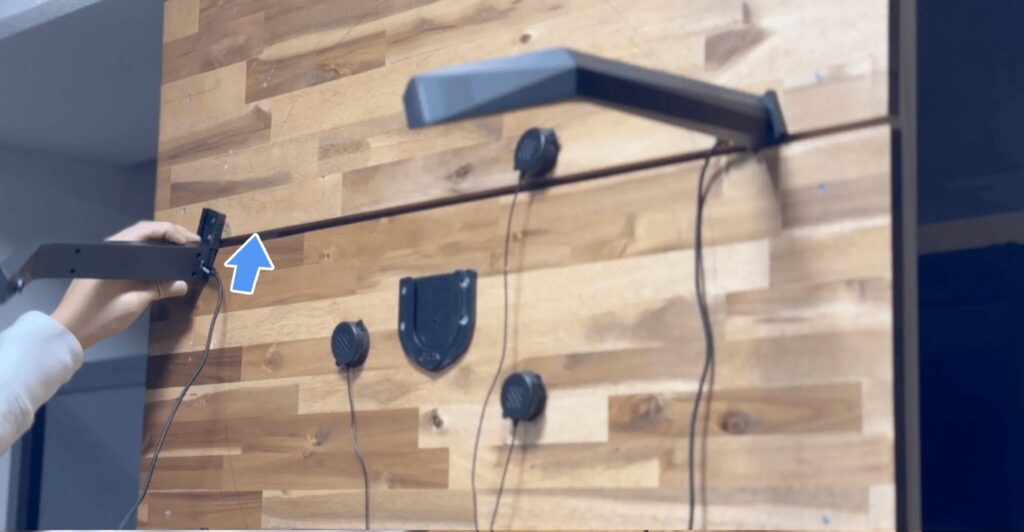
3.Install the camera bracket
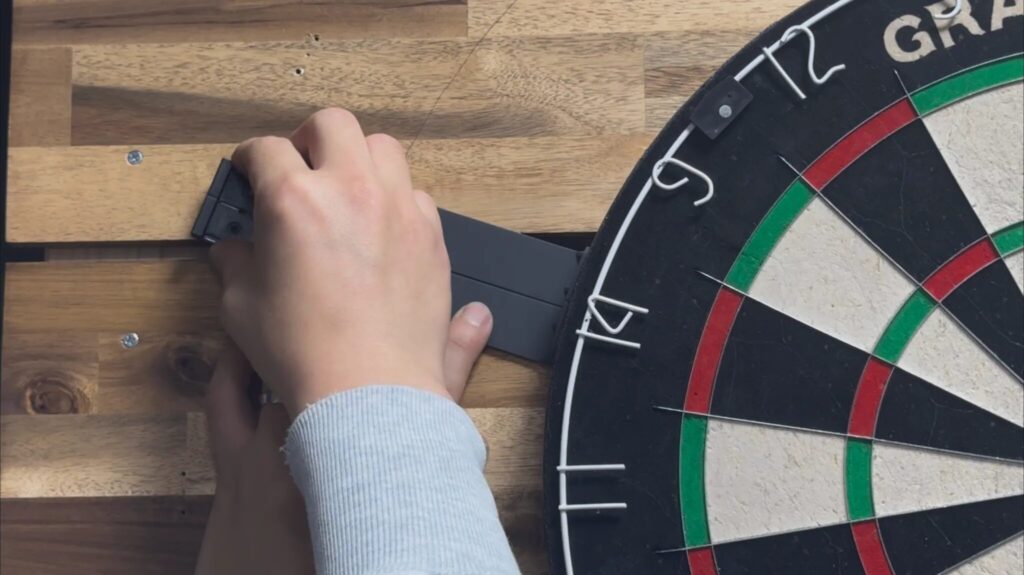
The bracket for GRAN EYE should be installed on the extension line connecting the center of numbers “13” and “14” on the dartboard (symmetrical positions on each side).
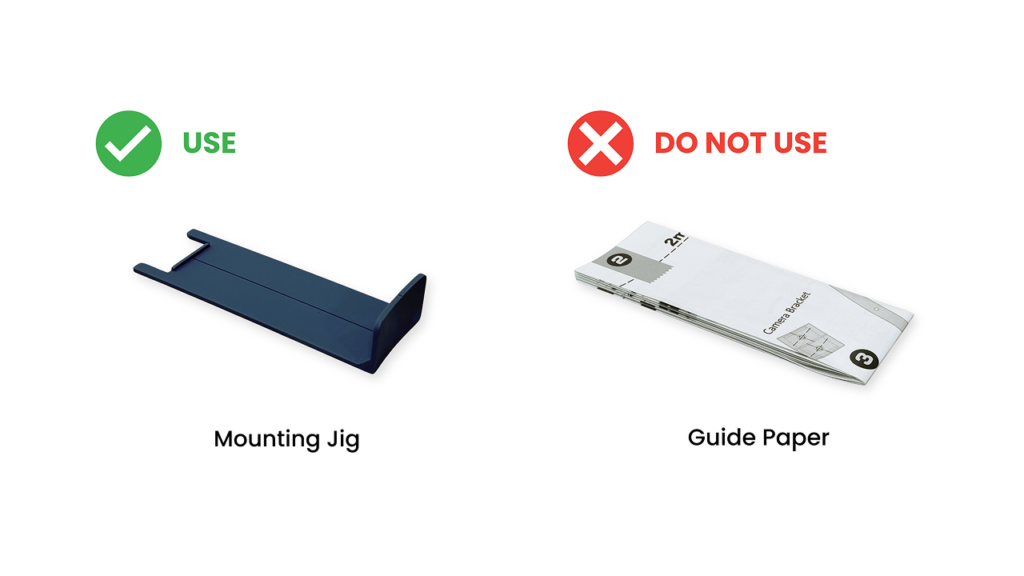
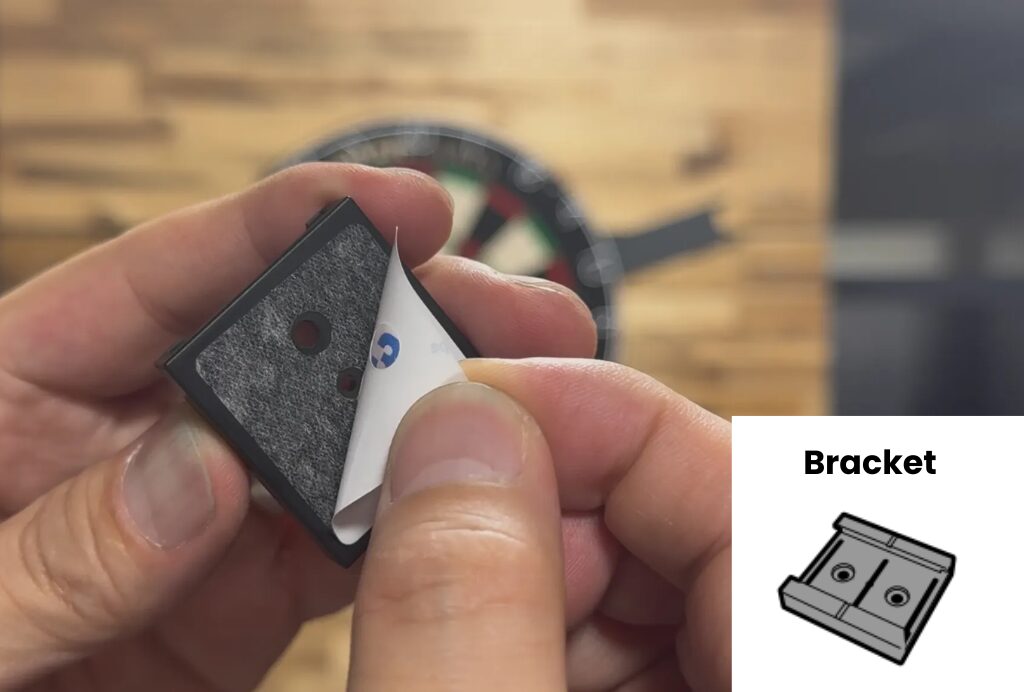
Use the included L-shaped guide and install as follows.
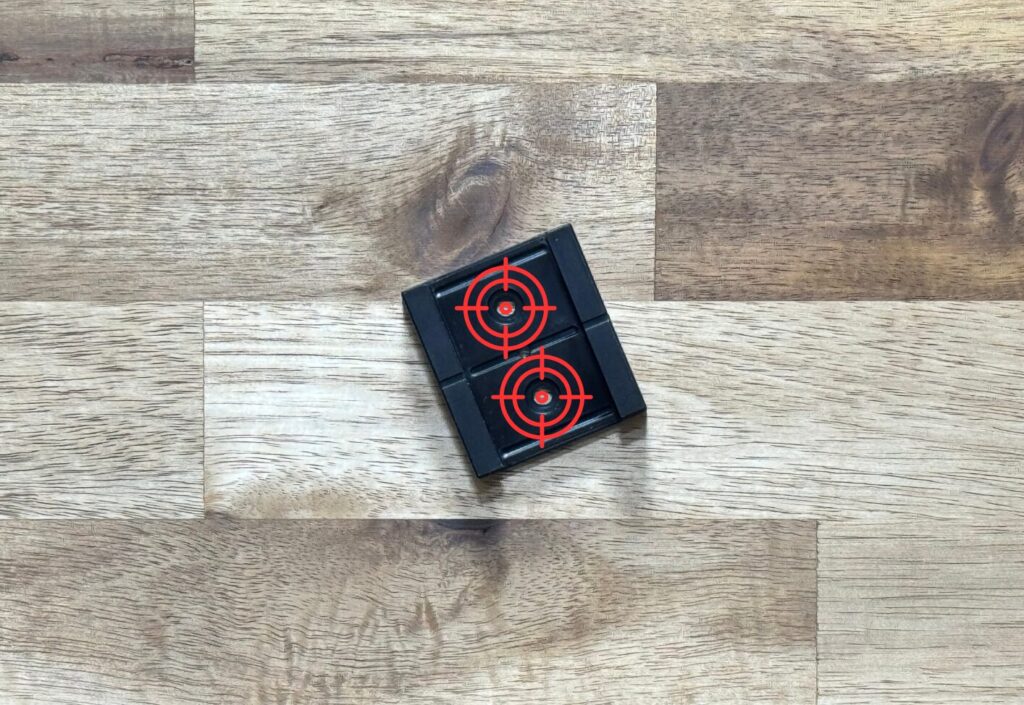
Apply double-sided tape to the other side (flat side) of the bracket for temporary attachment, then peel off the release paper.
Apply the bracket so that the holes in the double-sided tape line up with those in the bracket.
Align the curved edge of the L-shaped guide with the outer edge of the dartboard.Align it with the position of the number ’13’.
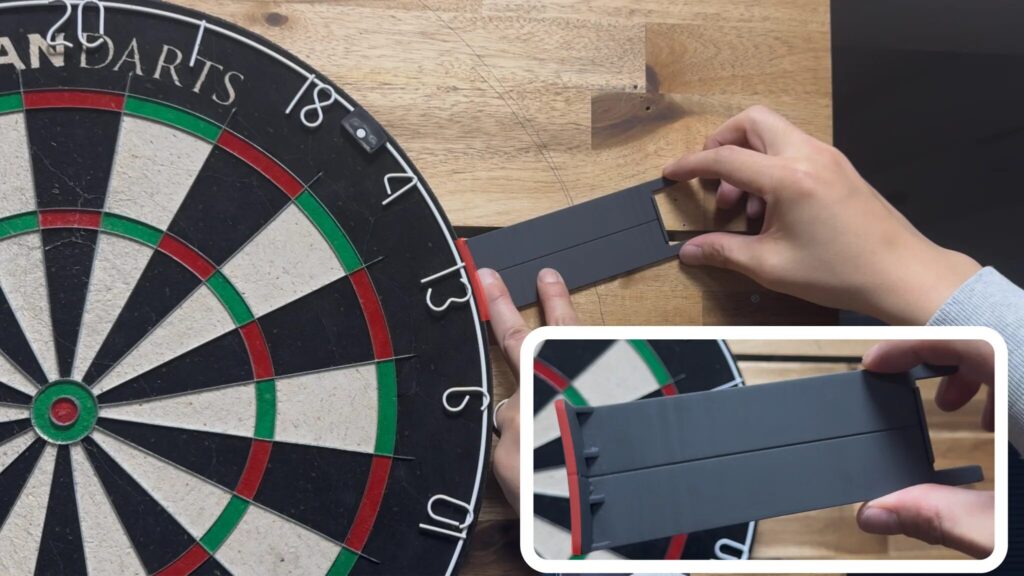
Align the center line of the L-shaped guide with the extension of the line connecting the center of the bullseye and the center of the double 13.
Hold the guide firmly to prevent it from shifting.
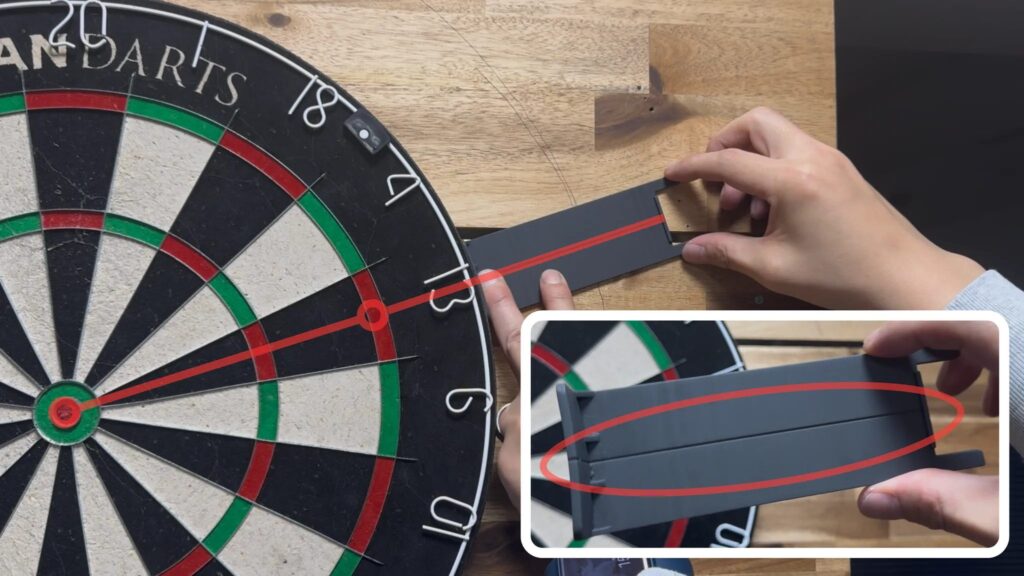
Temporarily stick the bracket to the wall, positioning it inside the recessed area at the edge of the L-shaped guide.
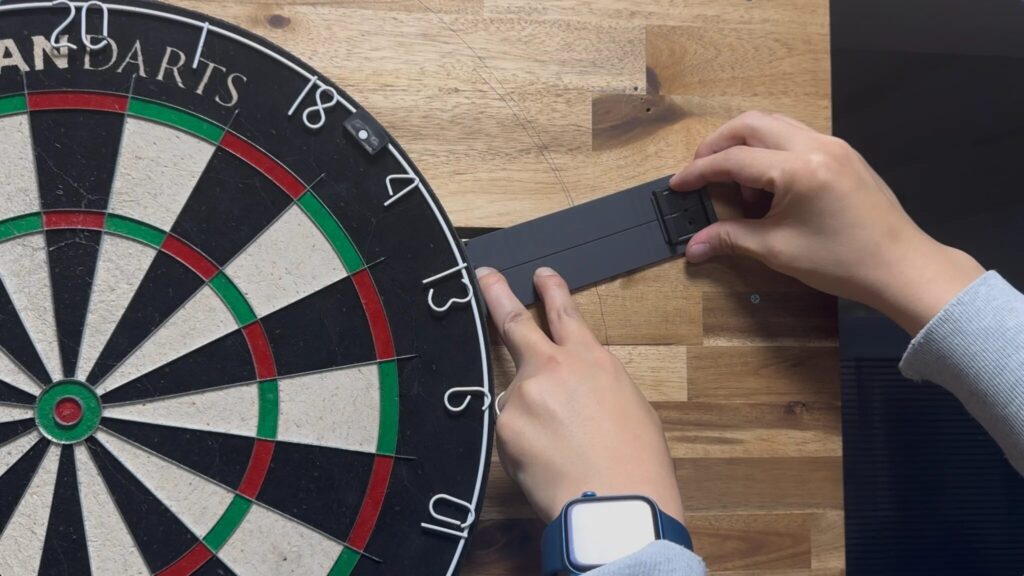
Remove the L-shaped guide.
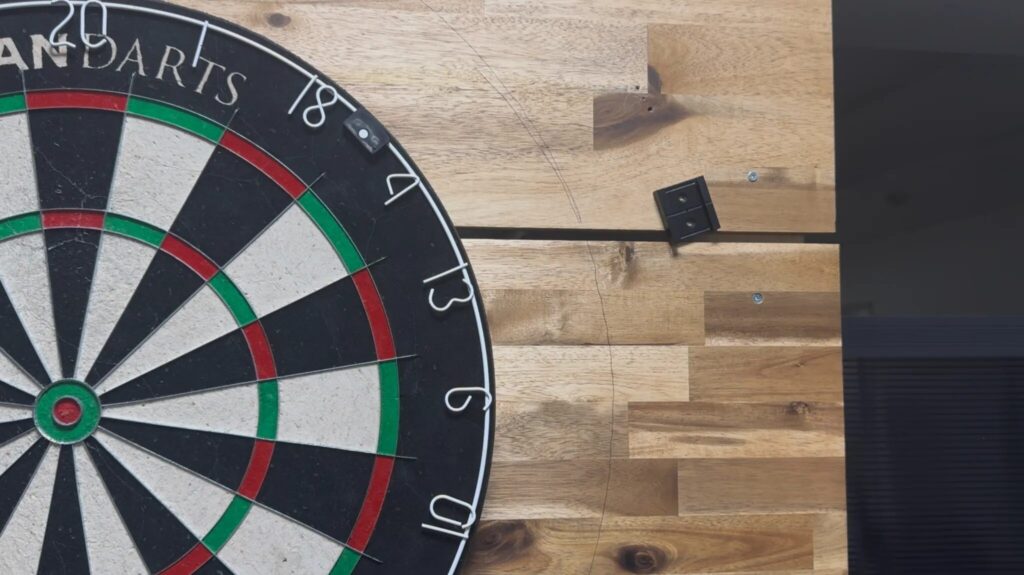
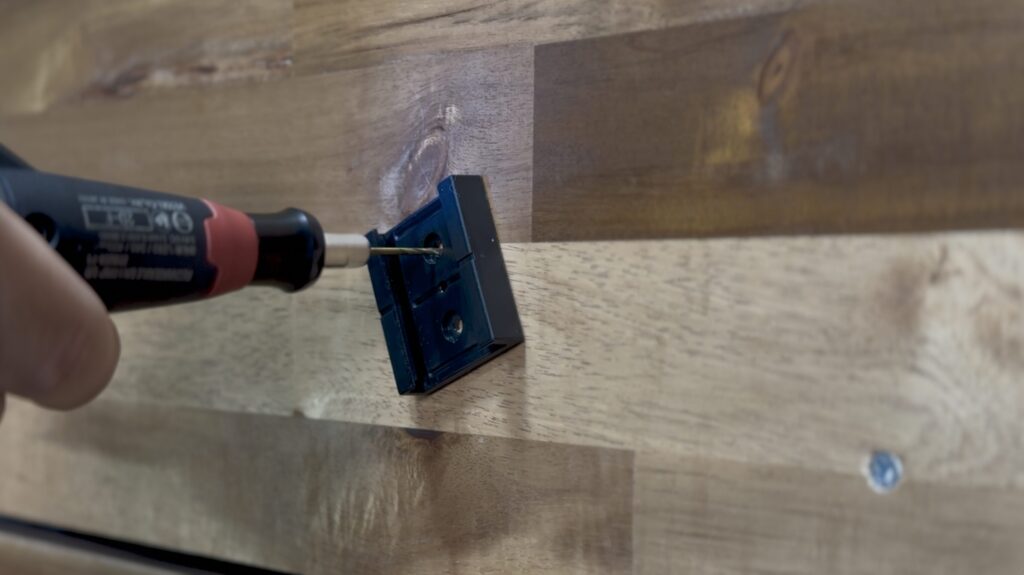
Secure the bracket using the included screws. Pre-drilling pilot holes will make the installation easier.
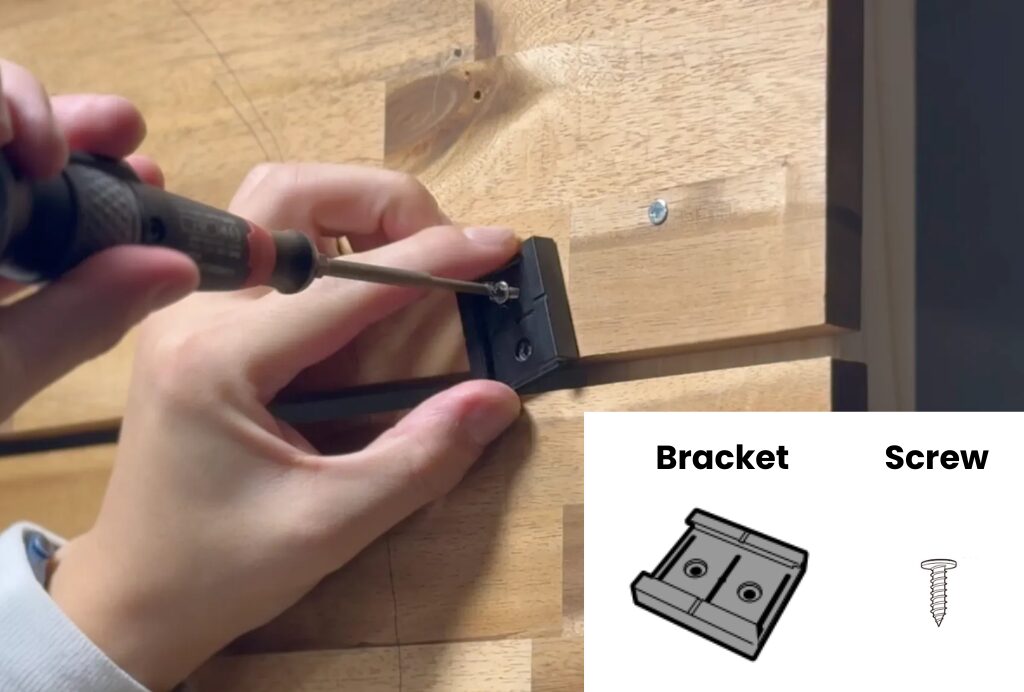
1.Drill the pilot hole at the center of the bracket’s screw hole.
2.Drill the pilot hole perpendicular to the wall.
Attach the bracket on the opposite side (the number 14 side) using the same procedure.
Bracket installation is now complete.
4.Remove the dartboard
Temporarily remove the dartboard from the wall. It’s okay if the dartboard bracket remains attached.
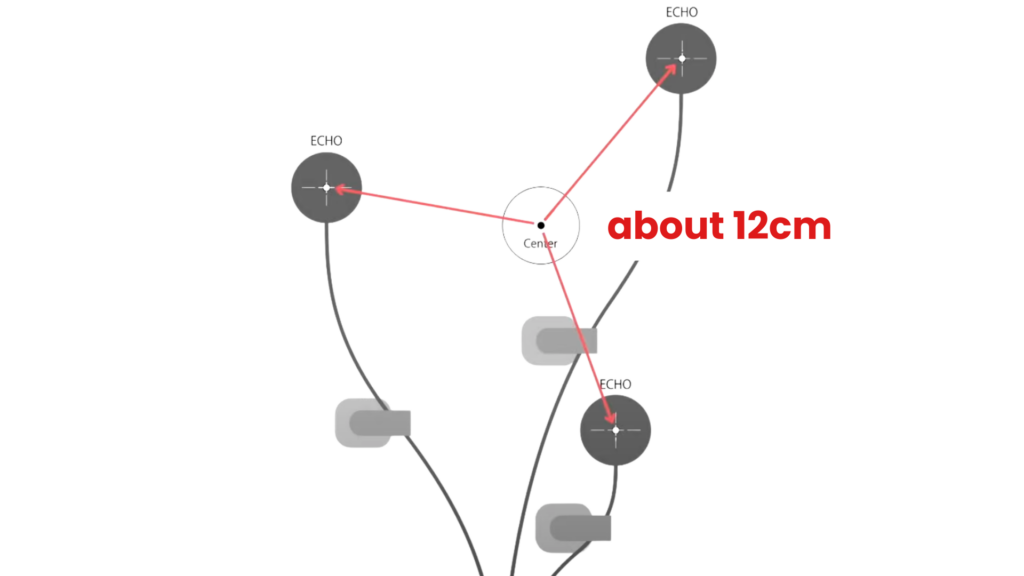
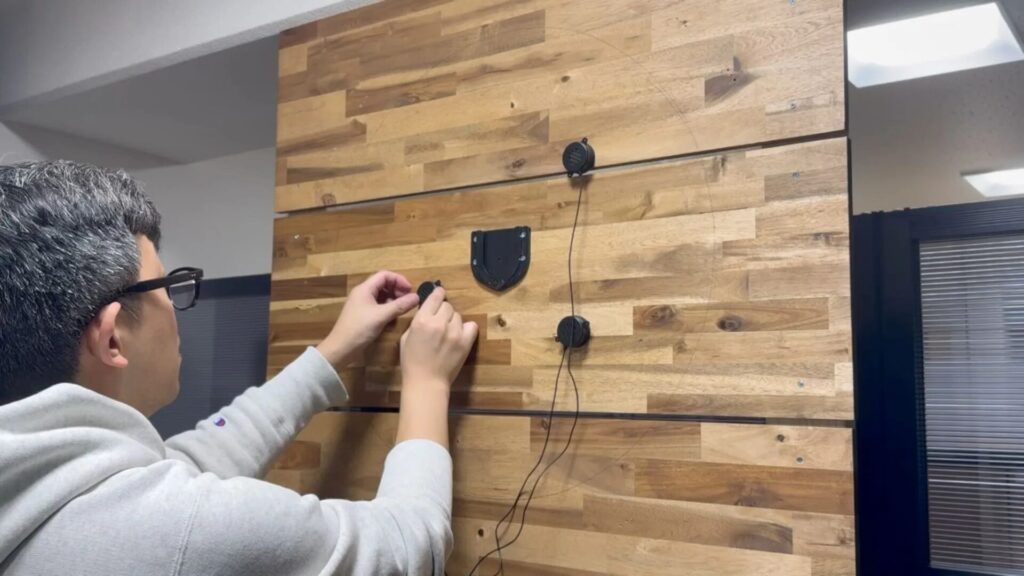
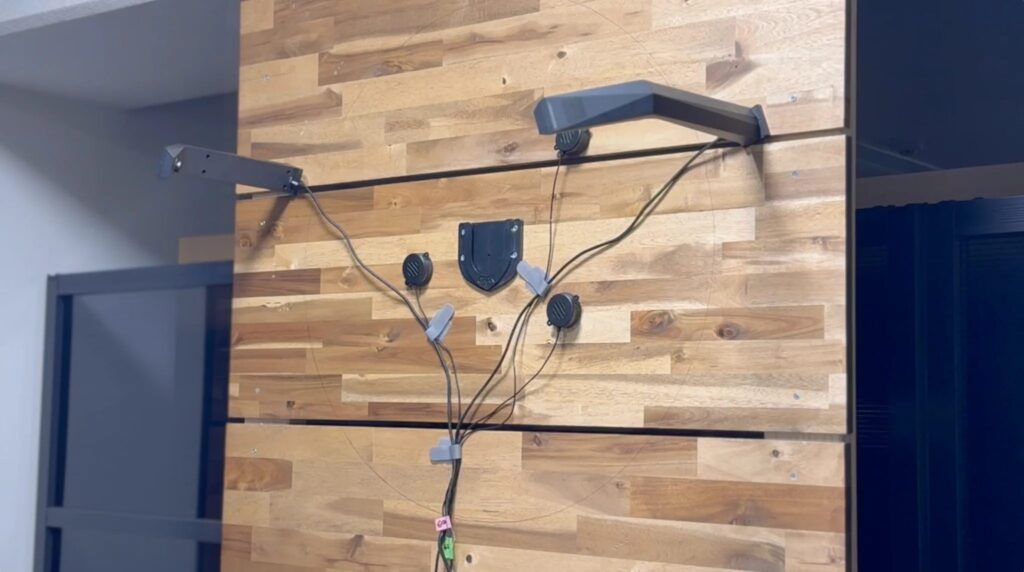
5.Attach the Echo Unit
Attach the included sponge to the Echo main unit.

Attach the Echo unit to the wall behind the dartboard, near the [T18], [T17], and [T14] areas.
Place it approximately 12 cm from the center (bull).
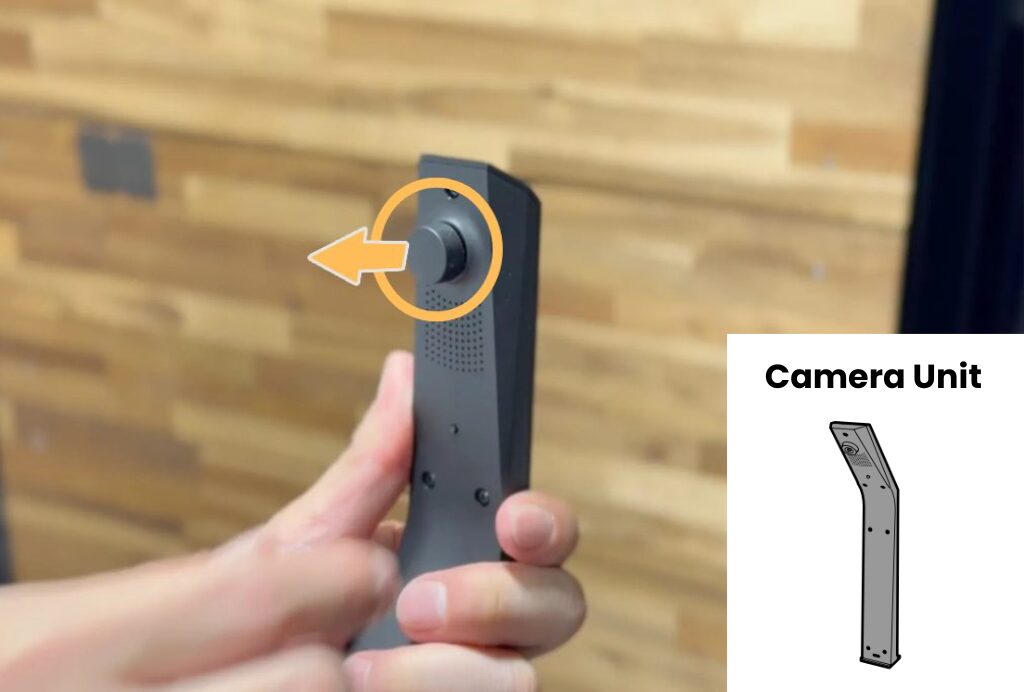
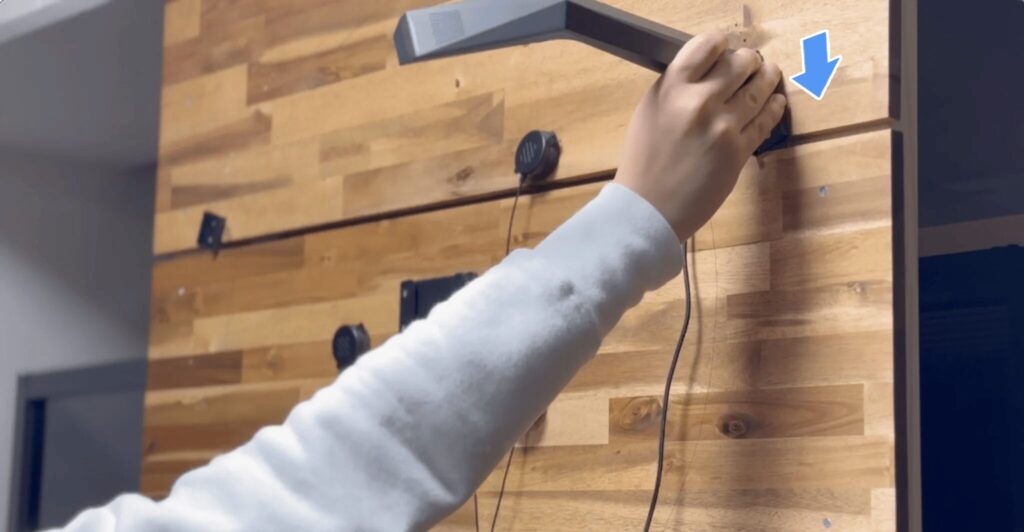
6.Install the camera
A cap is attached to the camera lens. Gently pinch and pull it straight off.
Connect the Type-C end of the included USB-A to USB-C cable to the camera’s base connector.
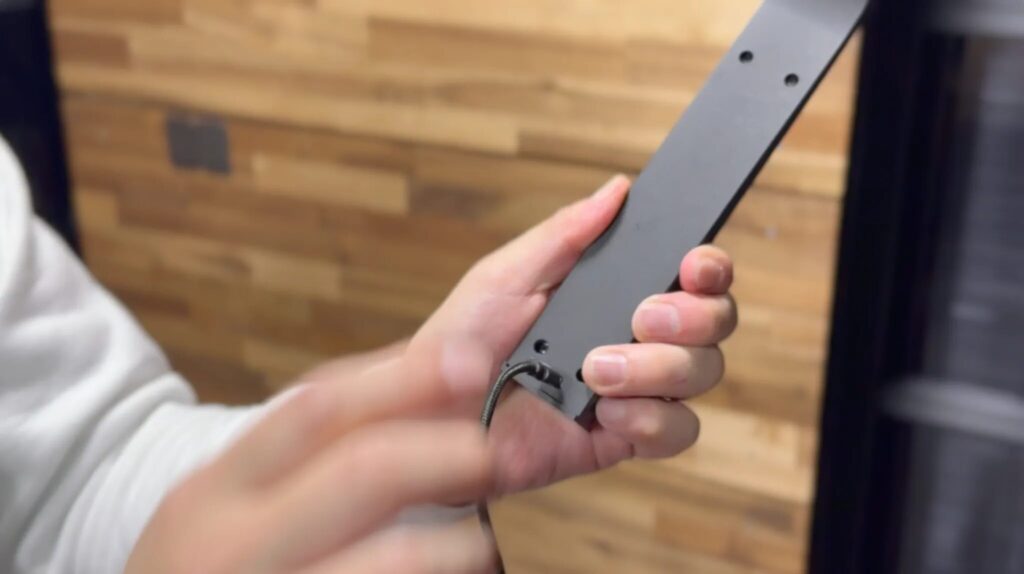
Slide the camera into the bracket until it clicks securely.
The right camera slides in from the top down, and the left camera slides in from the bottom up.
7.Organize the cables
Use the cable clamps to bundle and organize the cables.

8.Reinstall the dartboard
Reinstall the dartboard and surround as they were before. Be careful not to touch or damage the camera.
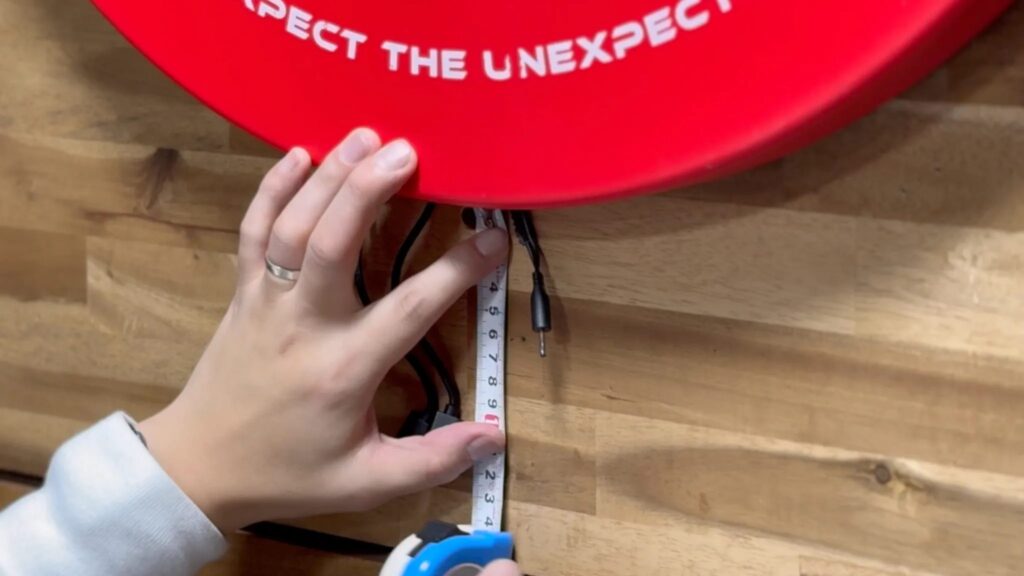
9.Install the base unit
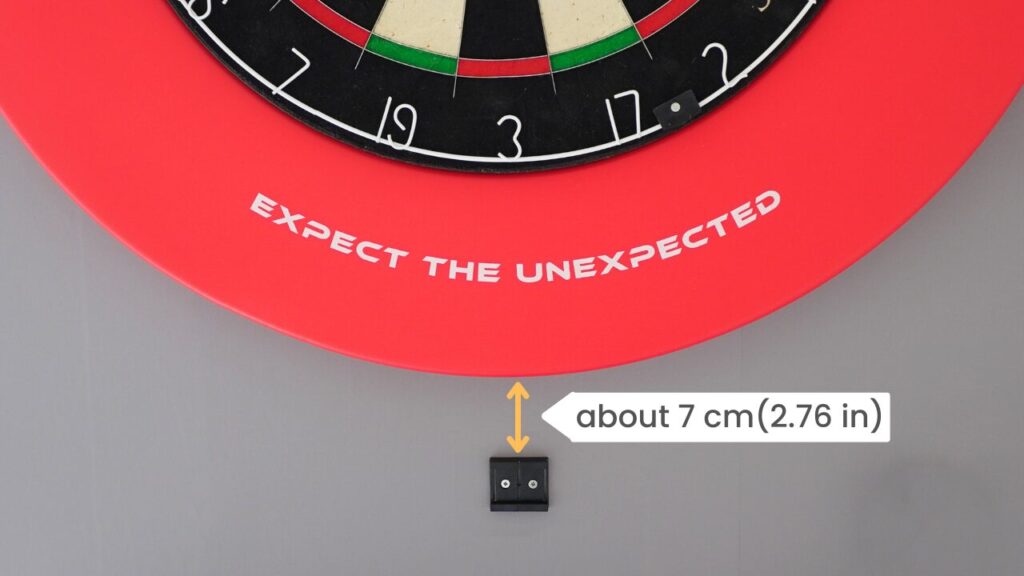
Install the bracket
Mark a point approximately 7 cm below the outer edge of the surround. Secure the bracket for the base unit to that position using screws.

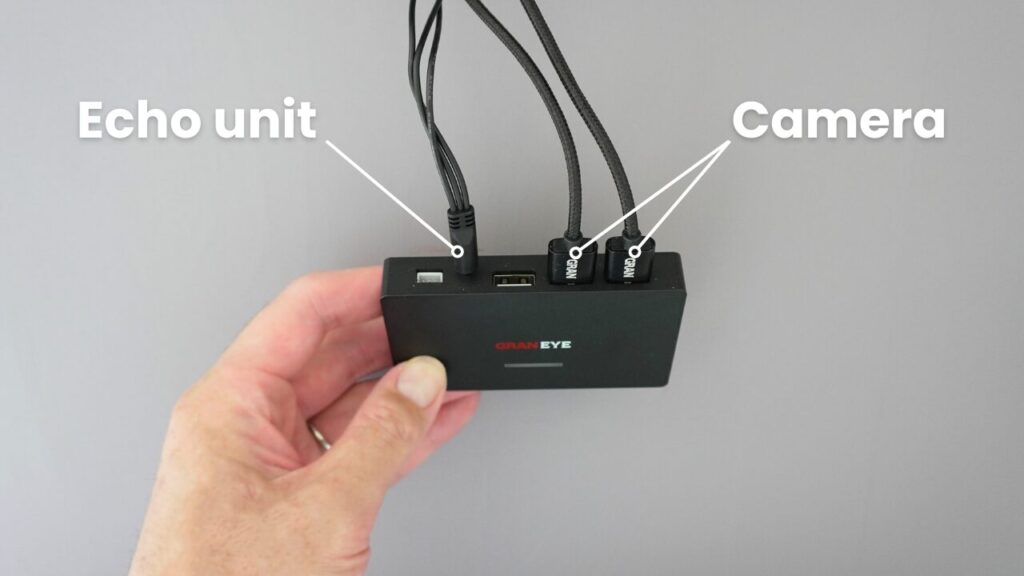
Connect each cable to the base unit
Connect the Echo Unit and cameras using the provided cables.
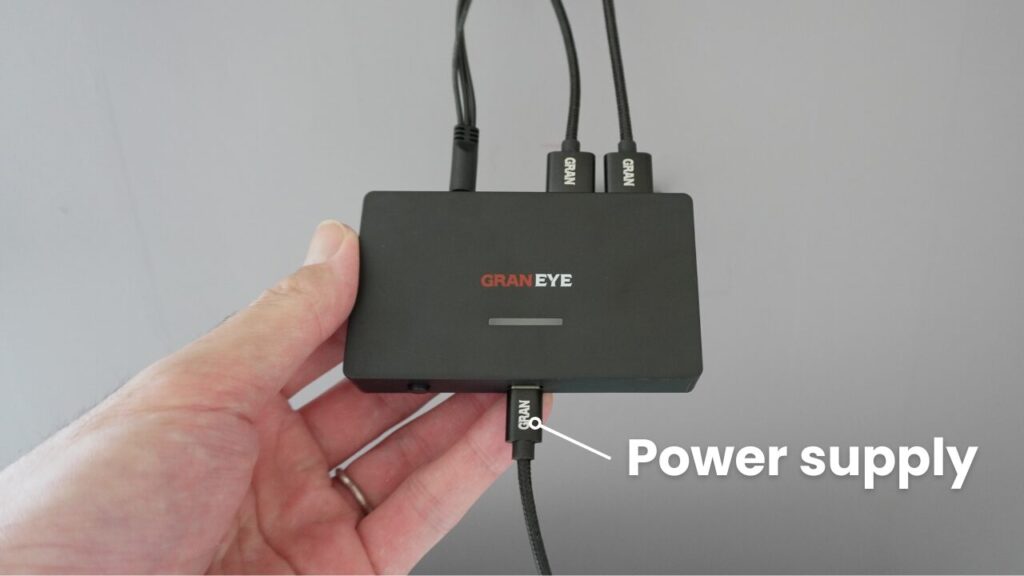
Next, connect the power cable to the bottom of the base unit.
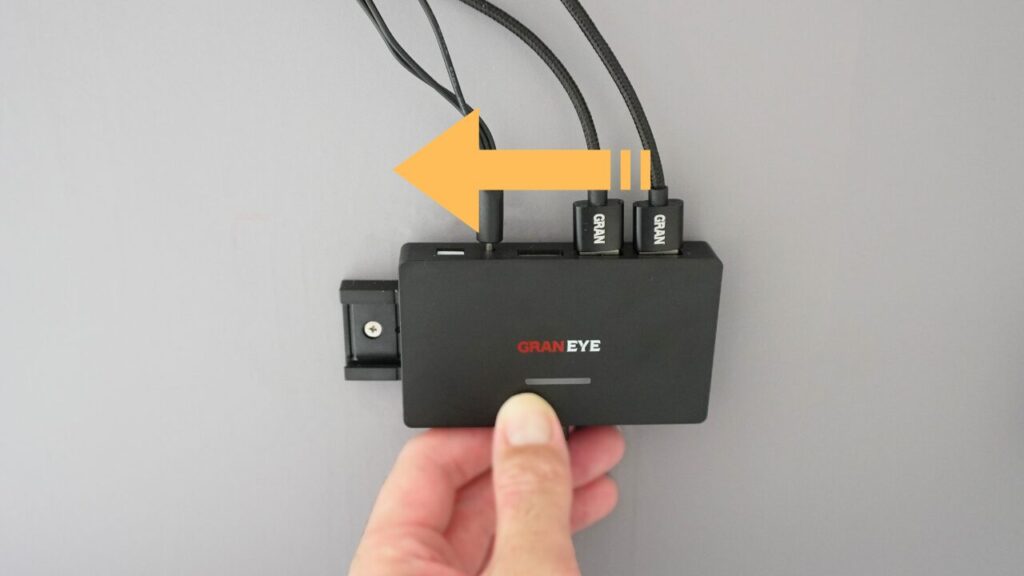
Install the base unit
Slide and fix the base unit onto the bracket, from right to left, until it clicks into place.
Connect the base unit’s power cable to a USB power source to complete the setup.
*USB adapter is not included.